![]()
In 2006 I started a total remodel of my house in Tucson. Now in late 2007, the remodel is complete.
Exterior
I've replaced all the windows and exterior door on the house. The original windows were double hung wooden windows that came down to my knees on the inside with cast concrete sills on the exterior. They were badly in need of replacement. The new windows are the same width, but shorter and are double-paned low-e sliders. The new exterior doors are insulated metal with double-paned low-e glass and I've added security doors to all exterior doors.
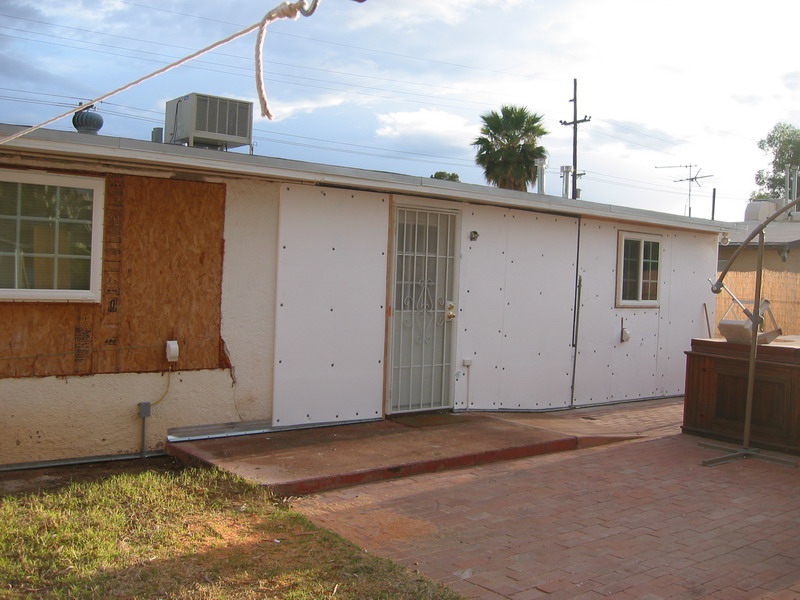
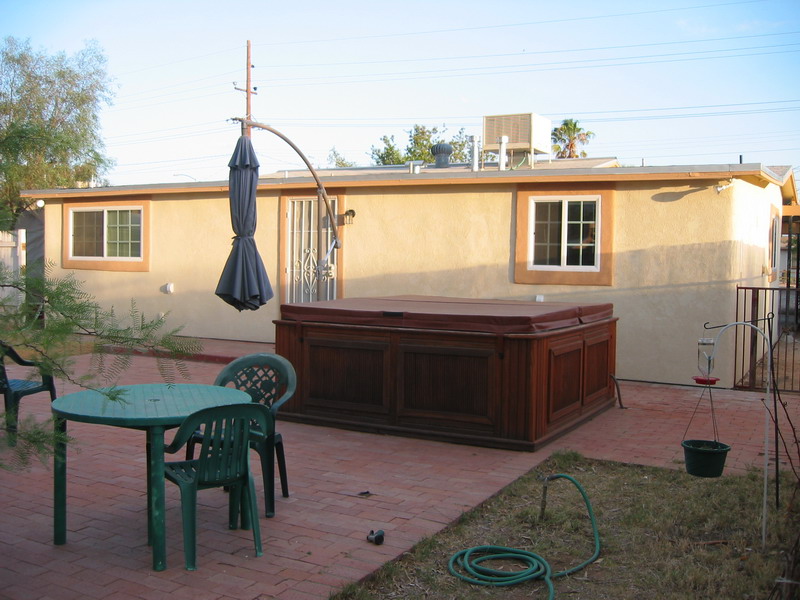
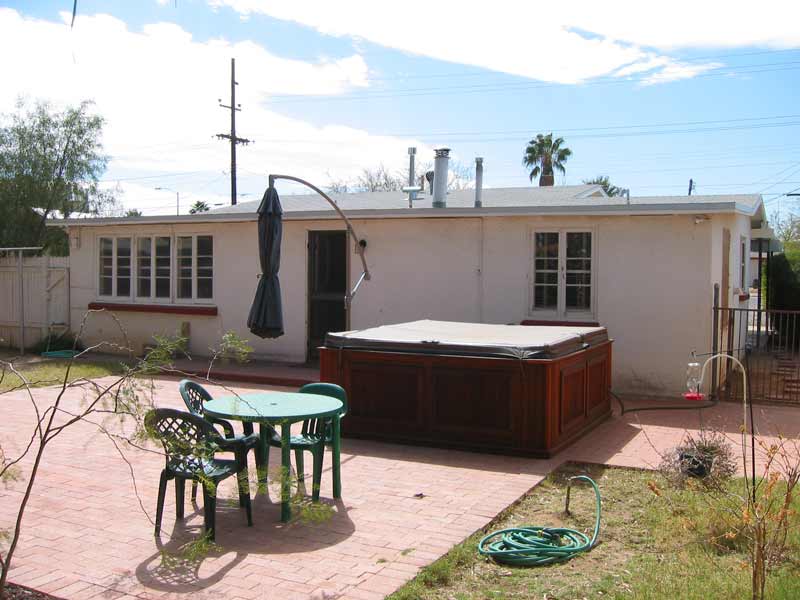 The exterior of the house from the back. |
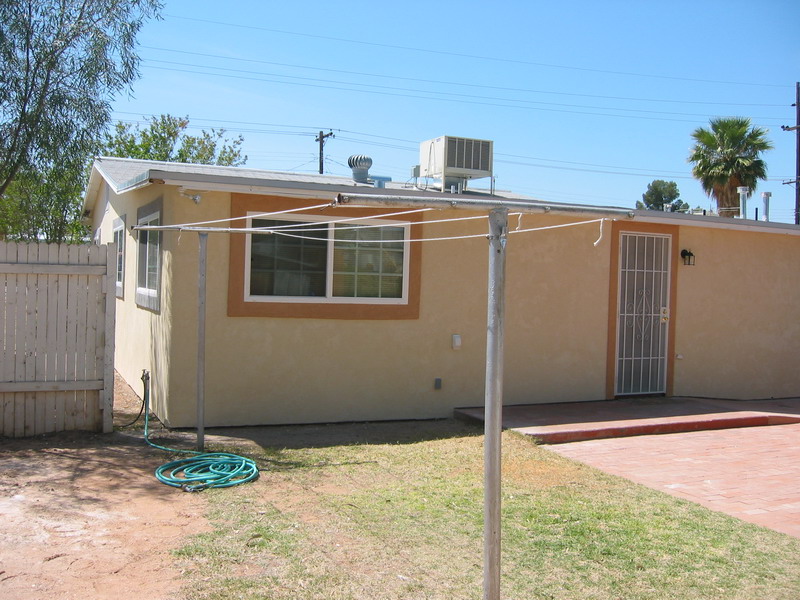
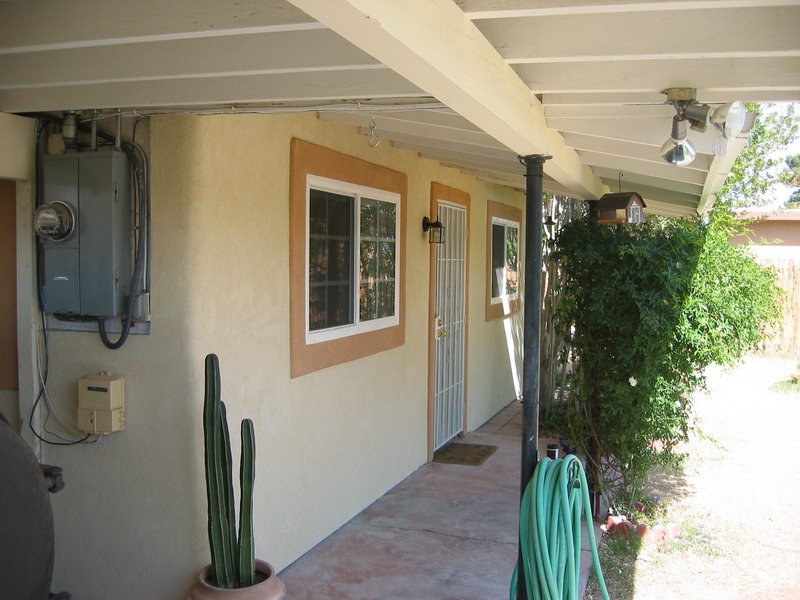
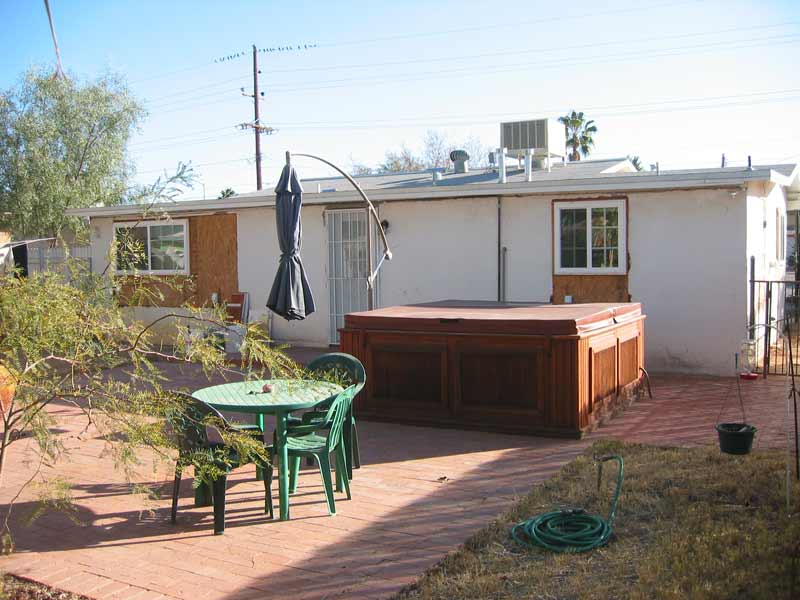 The exterior again from the back showing the new doors and windows. This is the north side of the house. |
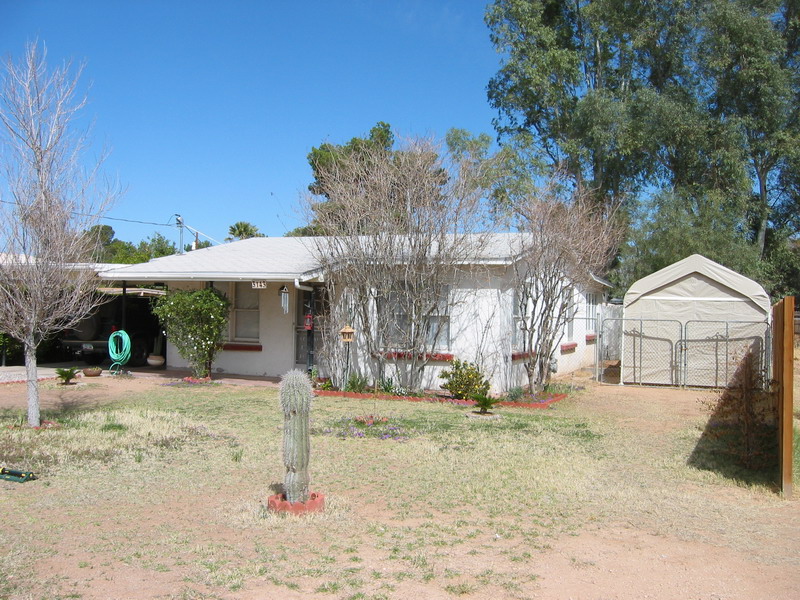
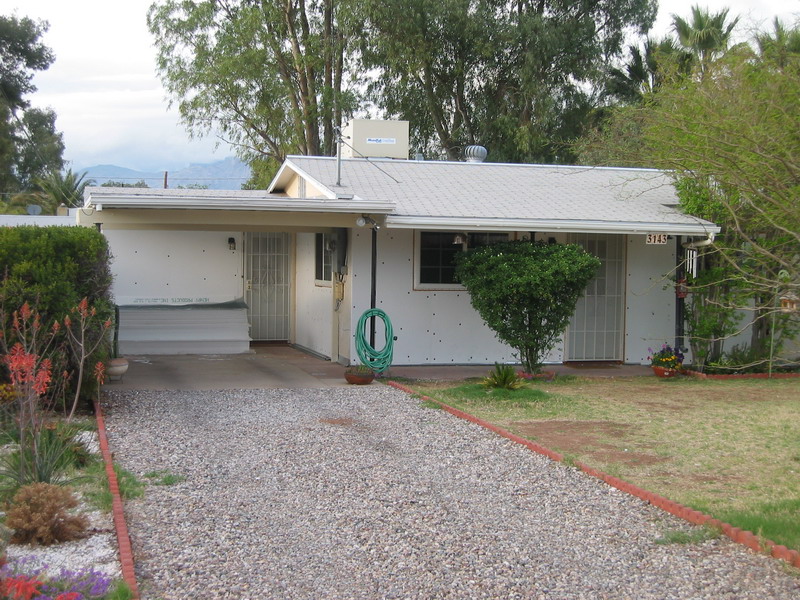
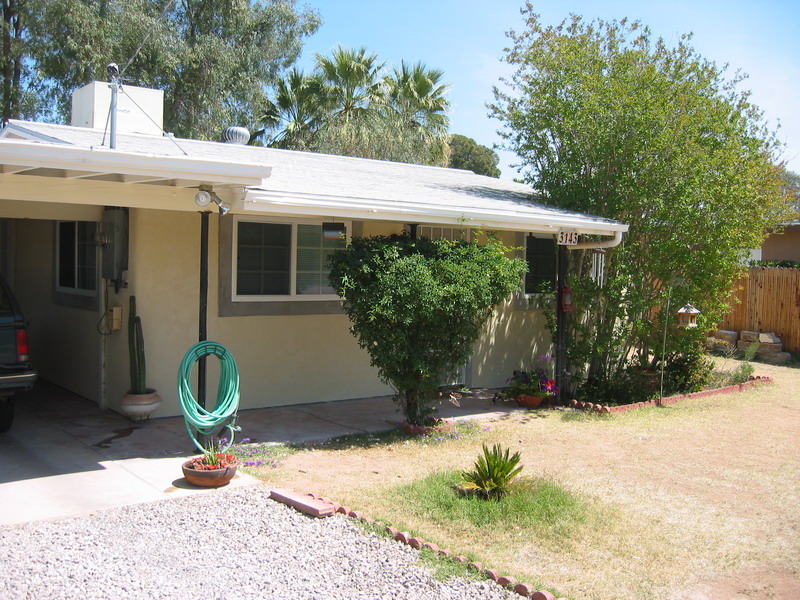
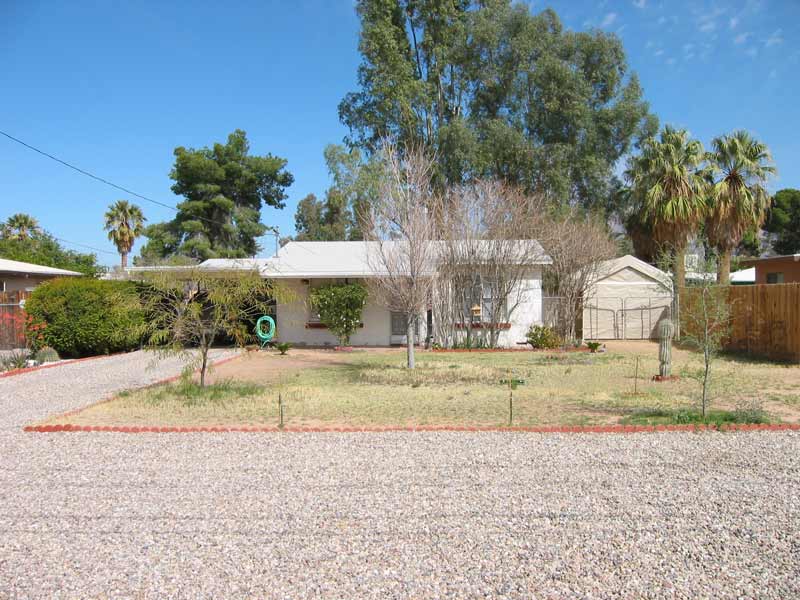 Exterior from the street before remodeling began. |
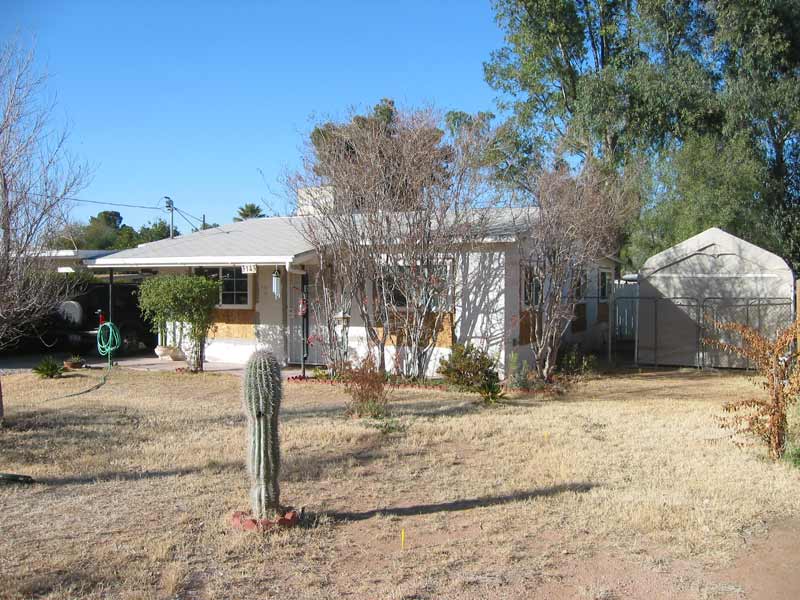
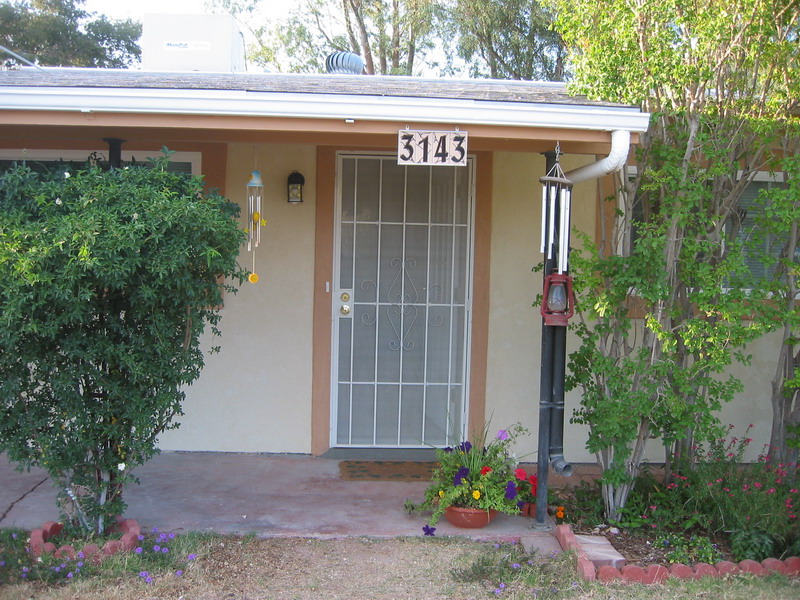
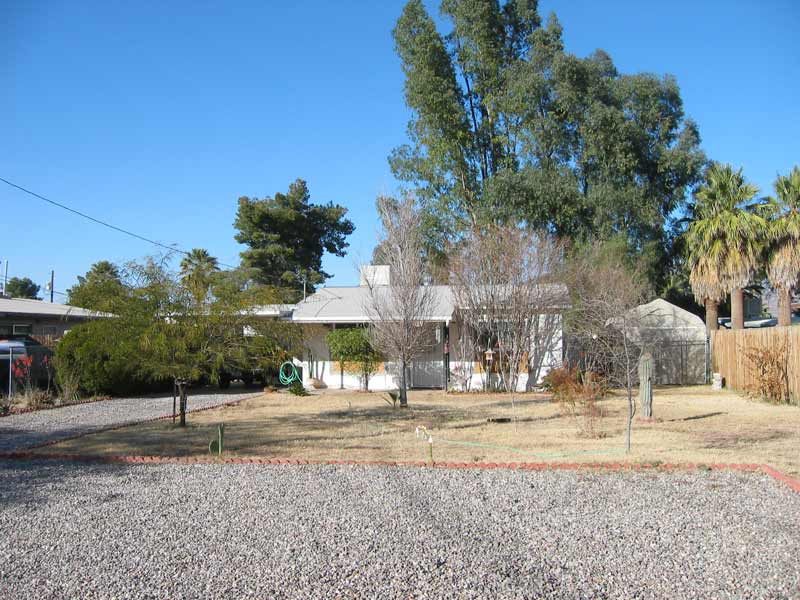 Same view after the windows and doors have been replaced. |
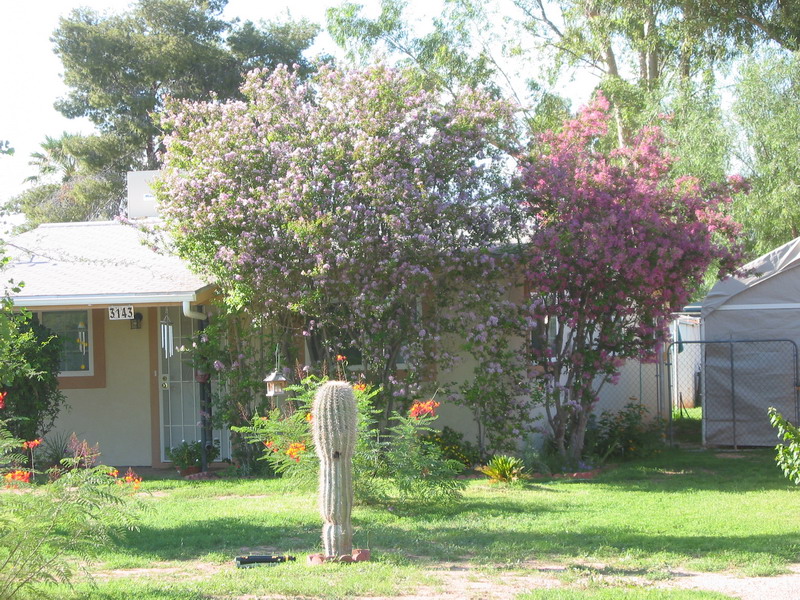
 Before view toward the southeast corner of the house. |
 Same view after interior remodeling is complete. |
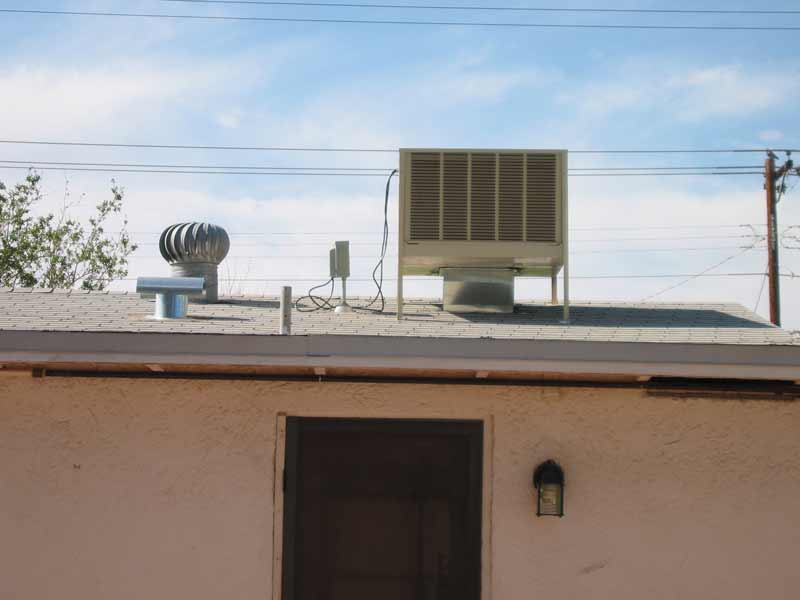 The house now has a Mastercool evaporative cooler on the roof ducted throughout the house to replace two window swamp coolers. |
Stucco
I've wrapped the house with an inch of foam, chicken wire and new stucco (western one-coat type material). I've added pop-outs around the windows and doors (made with 1" foam "boards" and covered with metal lathe) for accent. I've added foam on the exterior both for added insulation (the theory is that now the concrete block behind the foam will act as a thermal mass to keep the house cooler in the summer and warmer in the winter) and to create an even surface for the new stucco with much less chance of cracking between the old stucco and where I added OSB to cover where the windows were replaced.
 The exterior of the house from the back with some of the foam installed. |
 The exterior again from the front. |
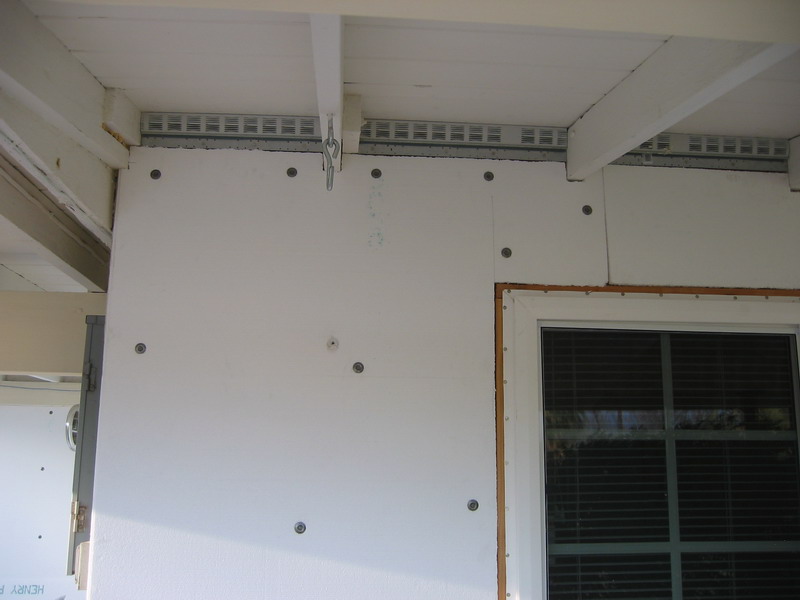 is is a detail of the front (south) of the house showing the vents I devised to provide continuous attic venting. |
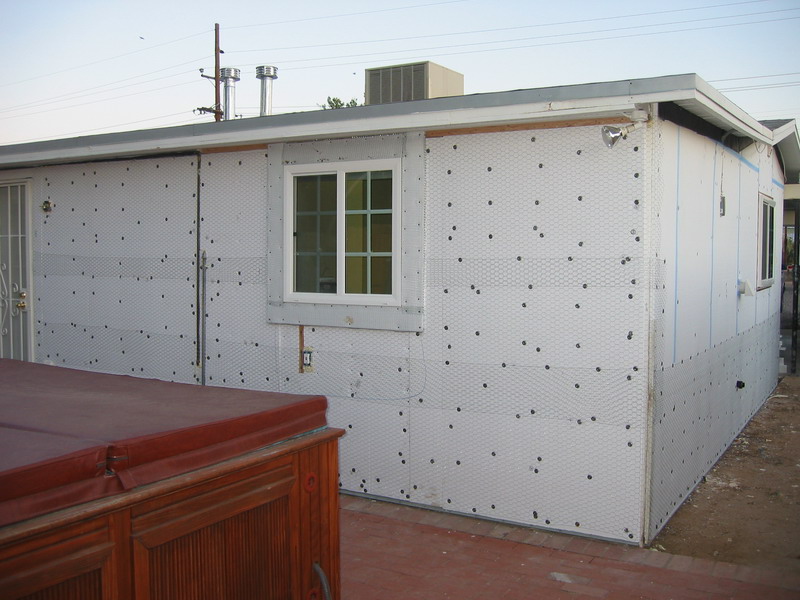 The chicken wire and pop-outs added. |
 Adding the western one-coat wasn't easy, especially for a couple of old farts. This is one of the few times I hired additional help. |
 Most of the front has been stuccoed here. |
 We rented a mixer which was well worth the cost! |
Top Coat
I used acrylic premixed and colored topcoat (Swirl-fine made by Parex which I obtained from Henry Products) for the topcoat. It cracks much less than a stucco topcoat and is a breeze to apply (once you get the hang of it and it's not over 90 degrees out) and you save the cost and time of painting. I added a darker color for the pop-outs for accent and matched the colors to paint the eaves and carport.
 Most of the color coat applied to the front of the house. |
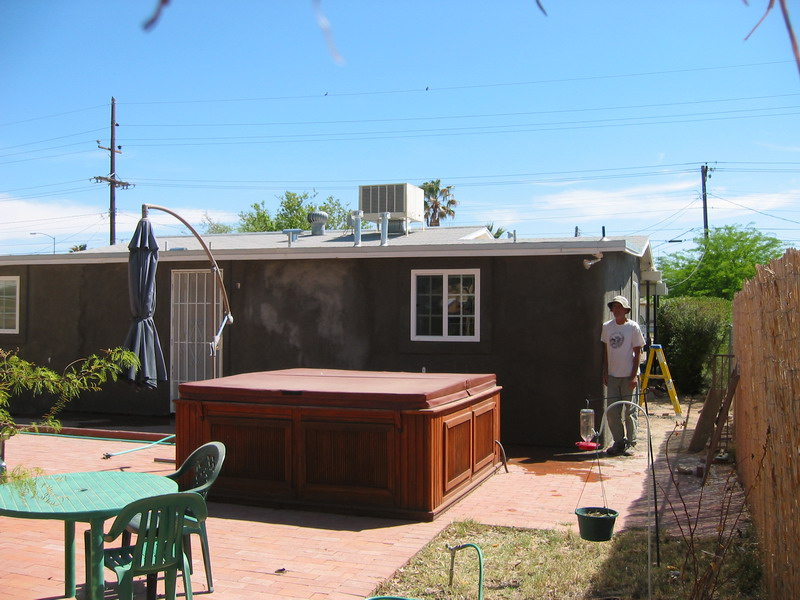
 And the rear. We colored the main portion of the house first and then went back and colored the pop-outs. |
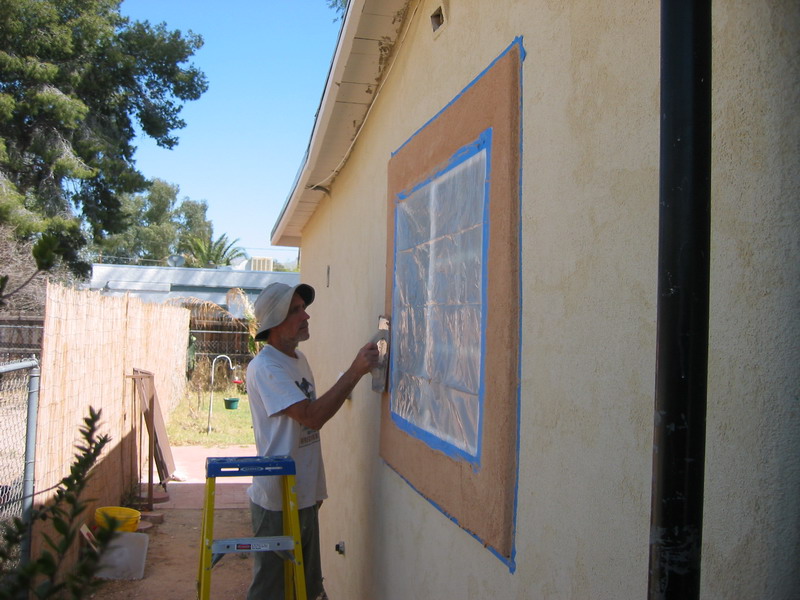 Here Lynn is adding the color coat to the pop-out around the kitchen window. |
 The north and west sides are complete except for the trim paint on the eaves. |
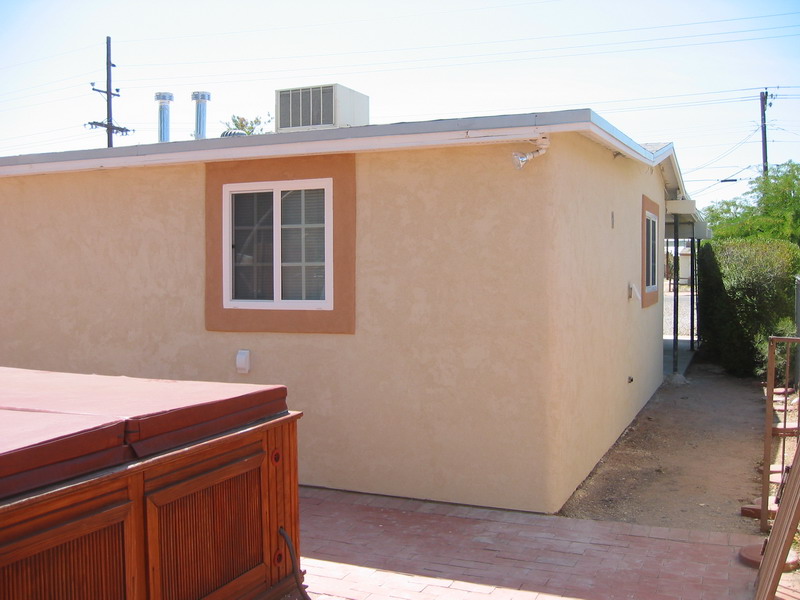
 Another view of the north and east sides. We've colored the pop-outs on the north side, but haven't gotten to the east yet. |
 The front of the house done except for eave paint. |
 And now with the eaves painted to match! |
 Also on the rear. |
Kitchen
The kitchen was completed rearranged. Note that the original kitchen had an electric stove and the original mishmash of cabinets. The countertops are the original linoleum that was cracked badly in spots. The new kitchen has a gas stove, a dishwasher, garbage disposal and the sink is now under the window where it belongs! Most of the kitchen was completed in a one week blitz.
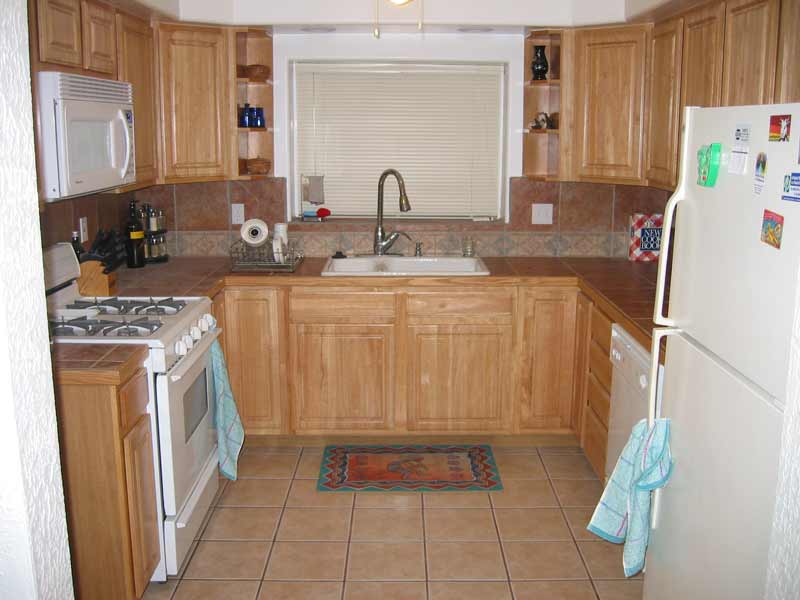
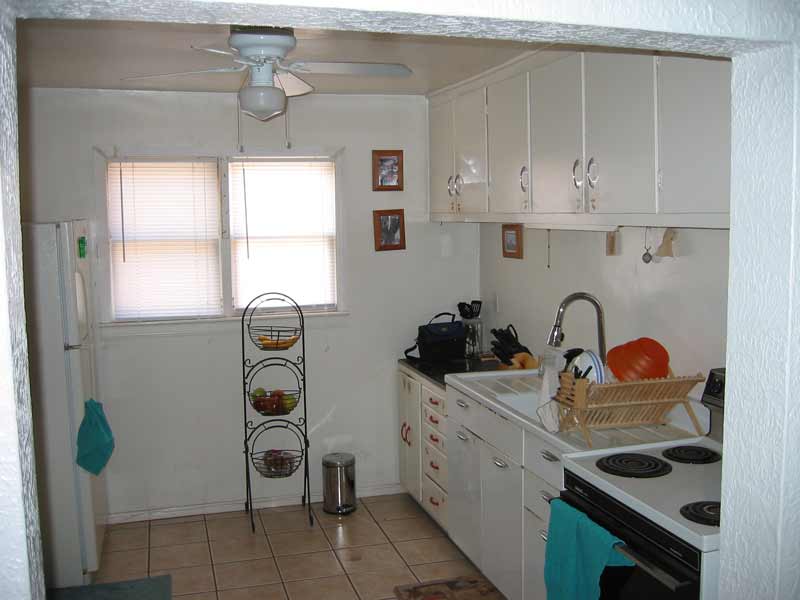 The kitchen before remodeling began. |
 Another "before" view of the kitchen. |
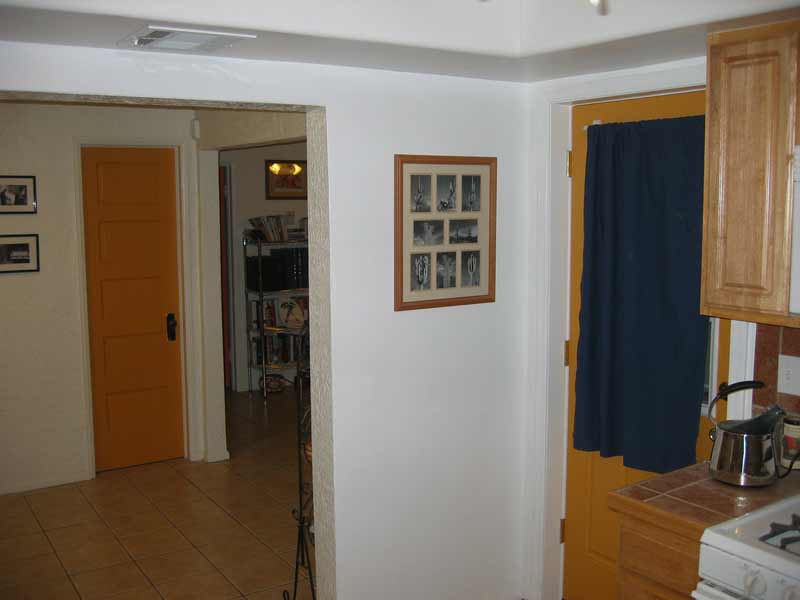
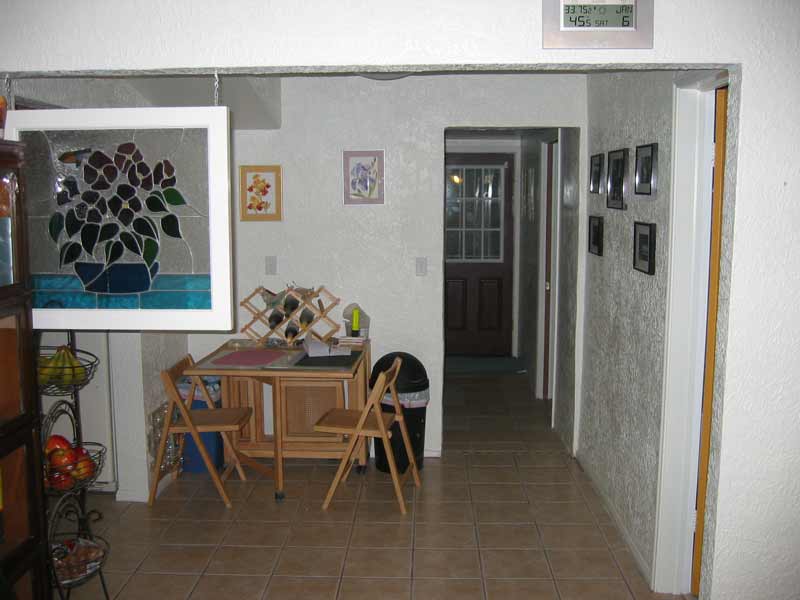
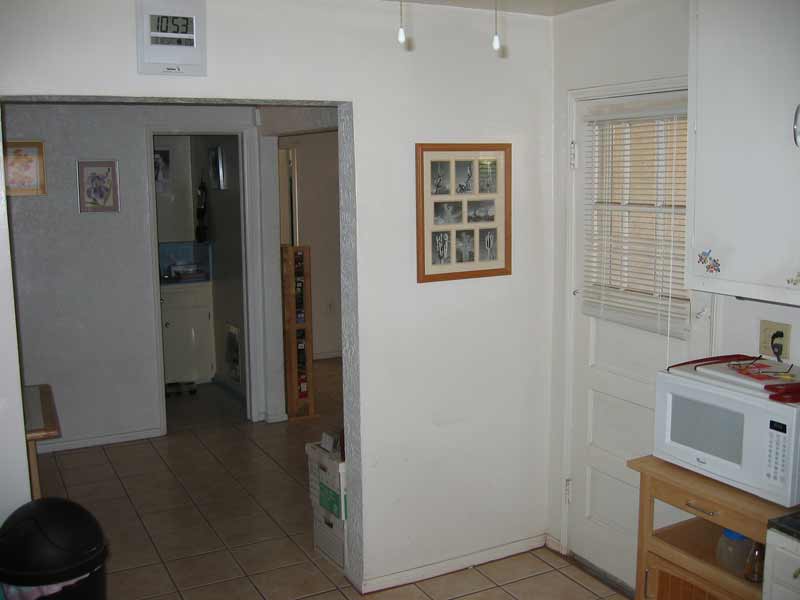 Before view from the kitchen looking toward the dining room. |
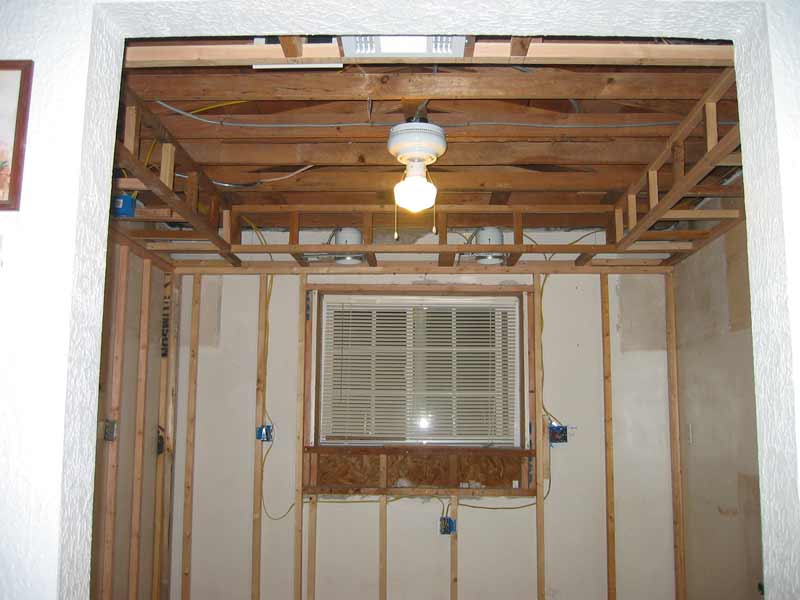
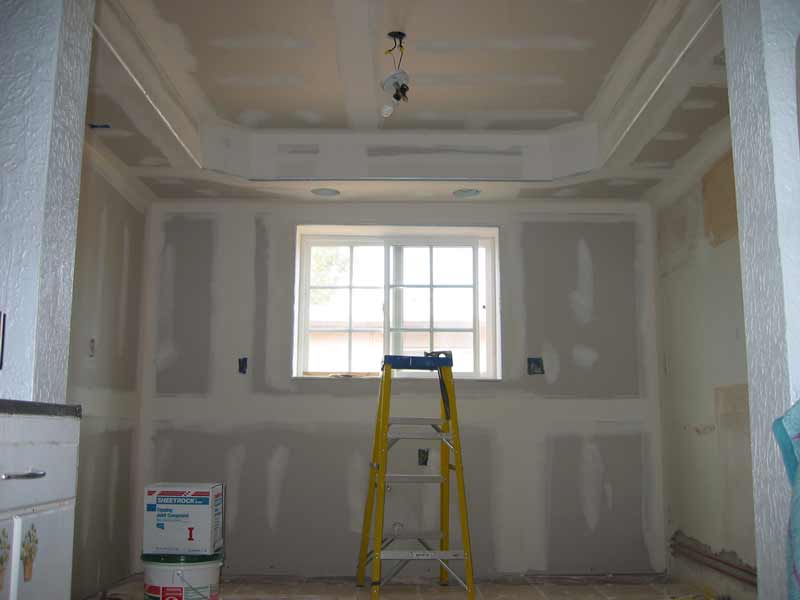
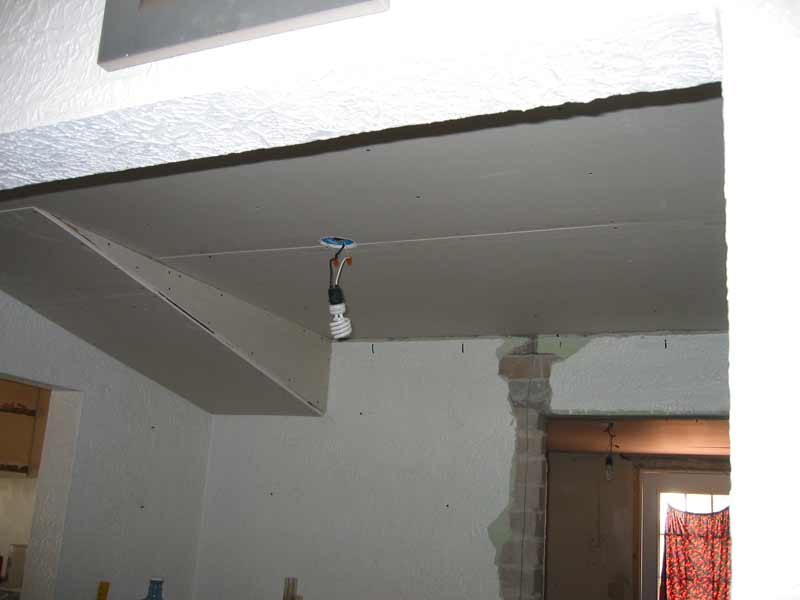
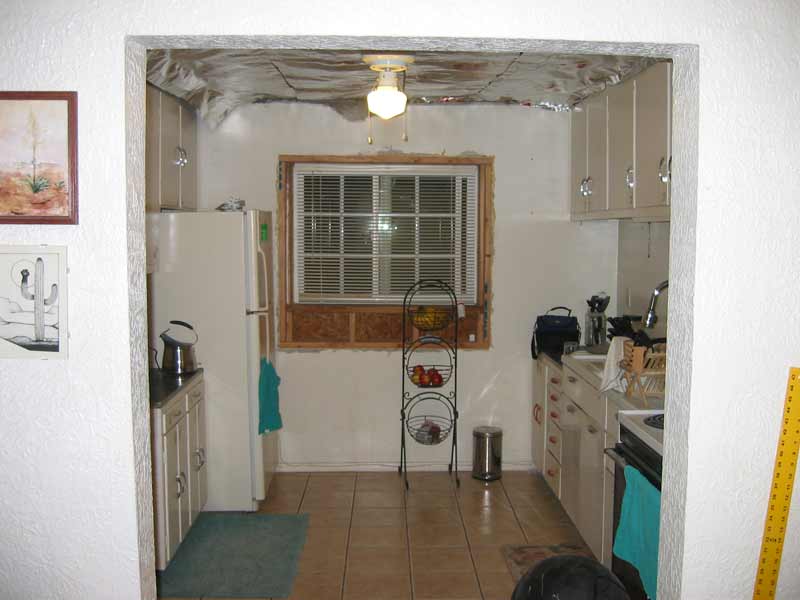 The window has been replace and the ceiling has been removed and a temporary radiant barrier has been added. |
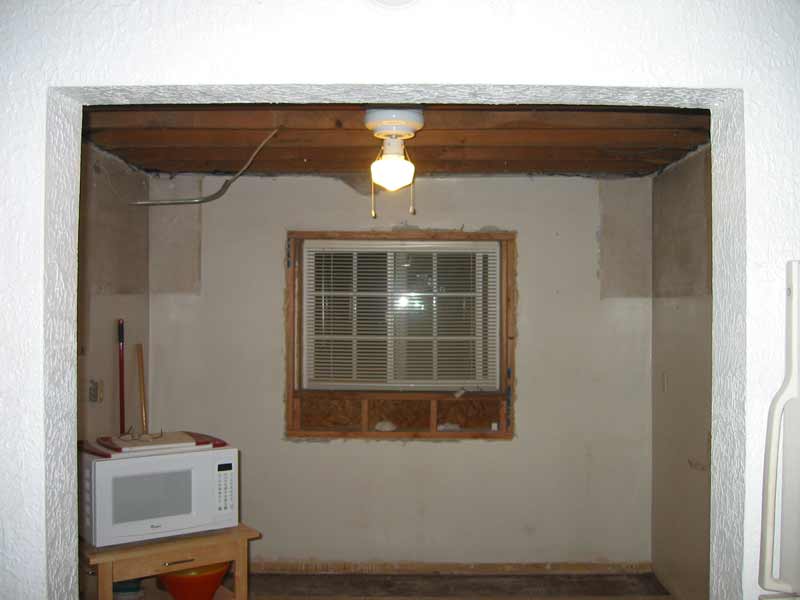 I took a week off work to do most of the kitchen remodel. This next series of photos were taken daily showing progress. Tear out was completed the first day. |
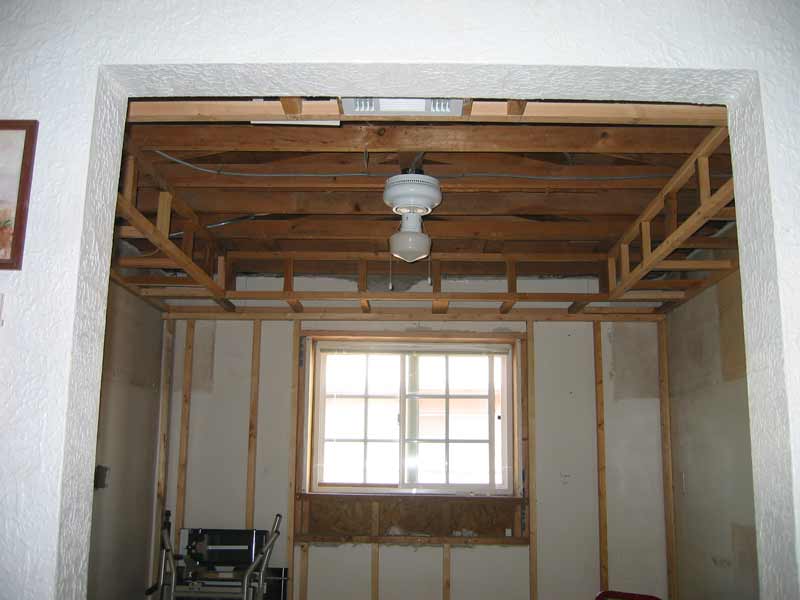 Framing was complete on day 2. I'm adding soffits and have furred out the west and south walls. |
 On day 3 the kitchen was rewired and additional circuits were added. |
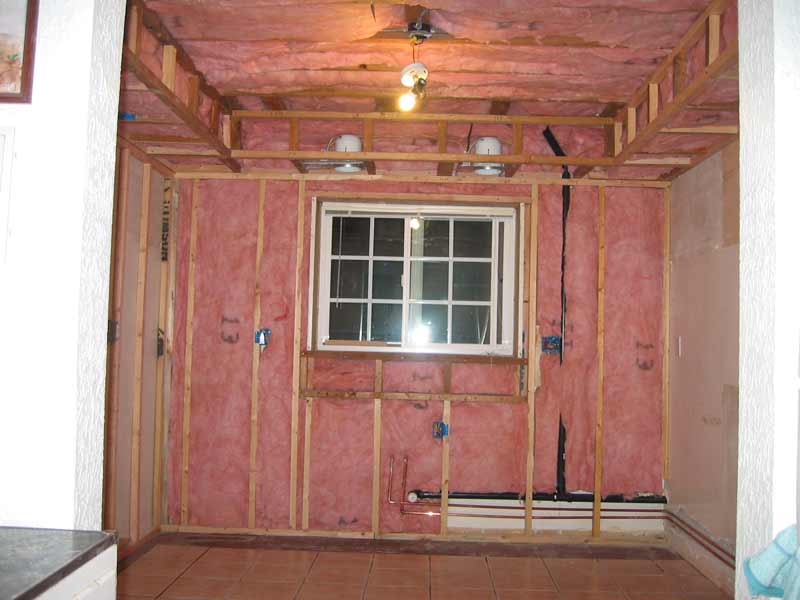 By the end of day 4, the plumbing and insulation has been completed. |
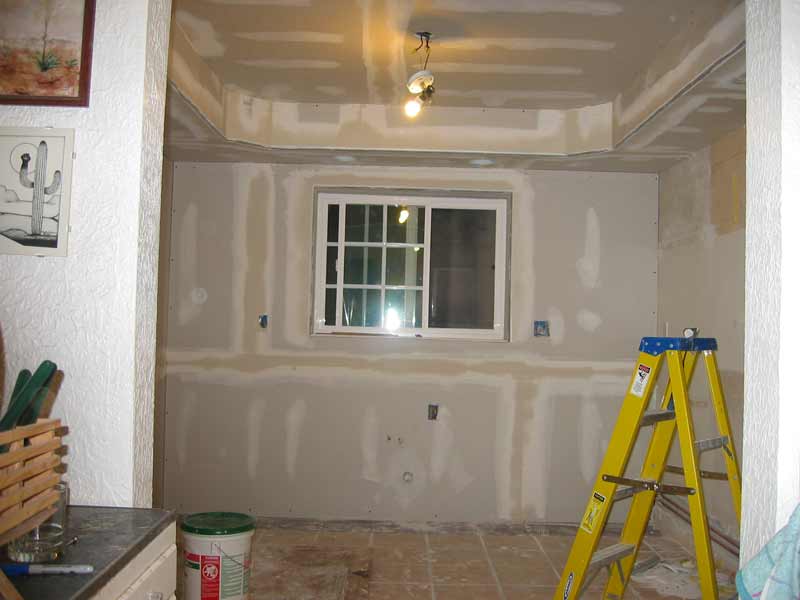 On day 5 I hung the drywall and put on the first coat of mud. |
 More mud. |
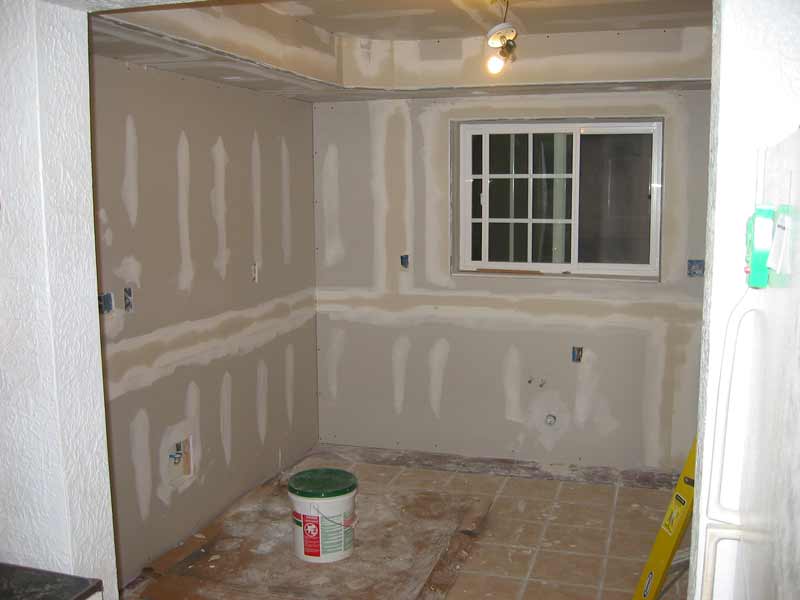
 Second coat of mud. |
 On day 8, the taping was sanded and the wall have been painted (at least where the paint will show). |
 On day 9, the cabinets were installed. While I didn't get the countertop installed, I made quite a bit of progress in a week working alone. |
 Over the next week I laid the tile countertop and backsplash. |
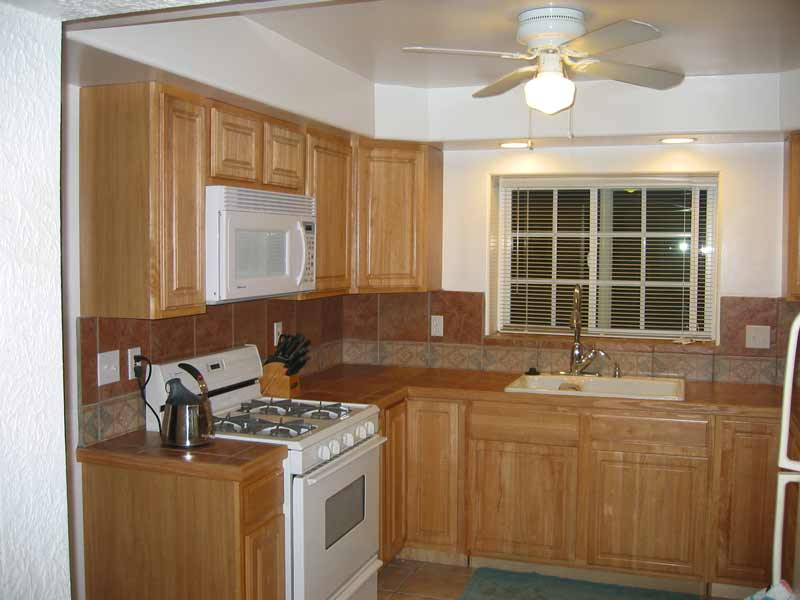 This is another view of the completed kitchen tile. |
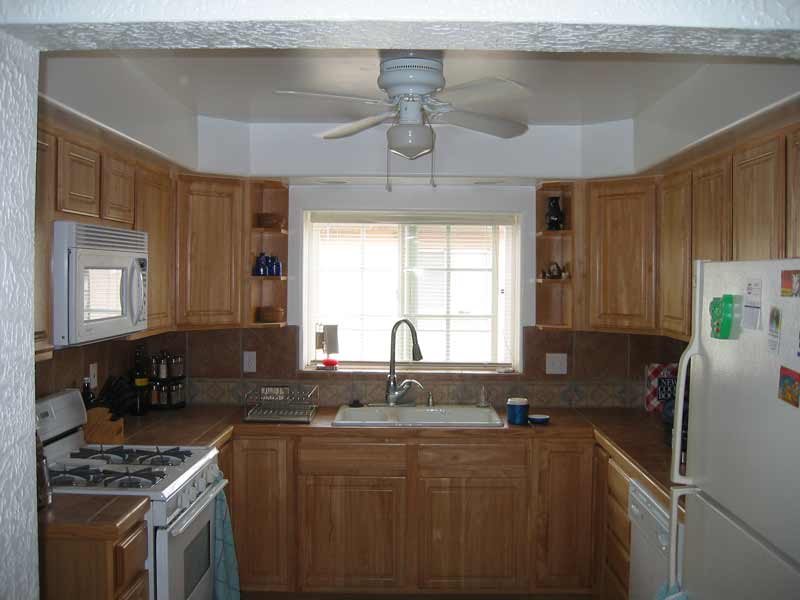 Shelves next to the window were not ordered with the rest of the cabinets and came in a couple of weeks later. Here they have been added. |
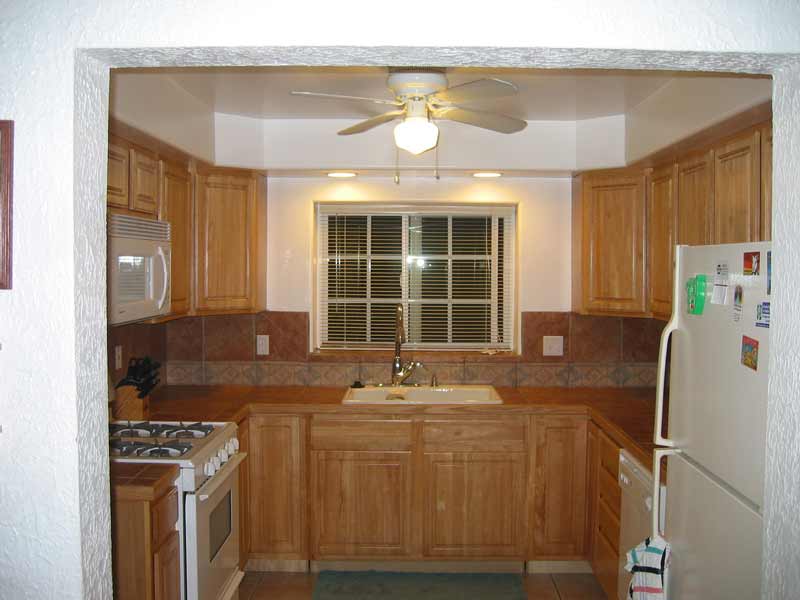
 A view of the completed kitchen looking into the dining room. |
 Another view of the finished product. |
Master Bedroom
The north end of the house was a big open room with a smaller room to one side. The room was originally added to the house as a lean-to and had low ceilings. I removed the ceiling to the original rafters and removed the concrete block wall dividing off the smaller room and created a new master bedroom suite with a second bathroom and a separate utility room, pantry, and closet for the new furnace and the water heater. Thus the space is much more useable and the house went from 2 bedrooms and 1 bath to 3 bedrooms and 2 baths without adding any additional footprint to the house.
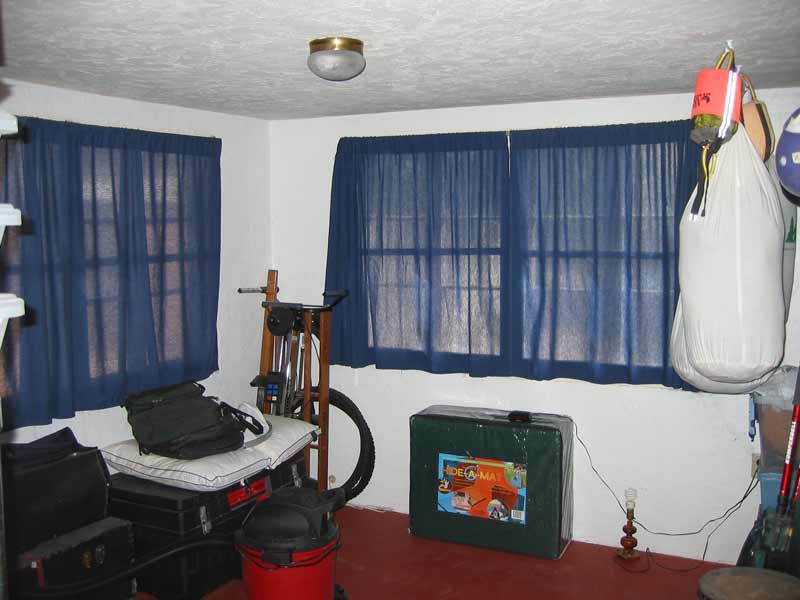 The small room I originally used for storage. |
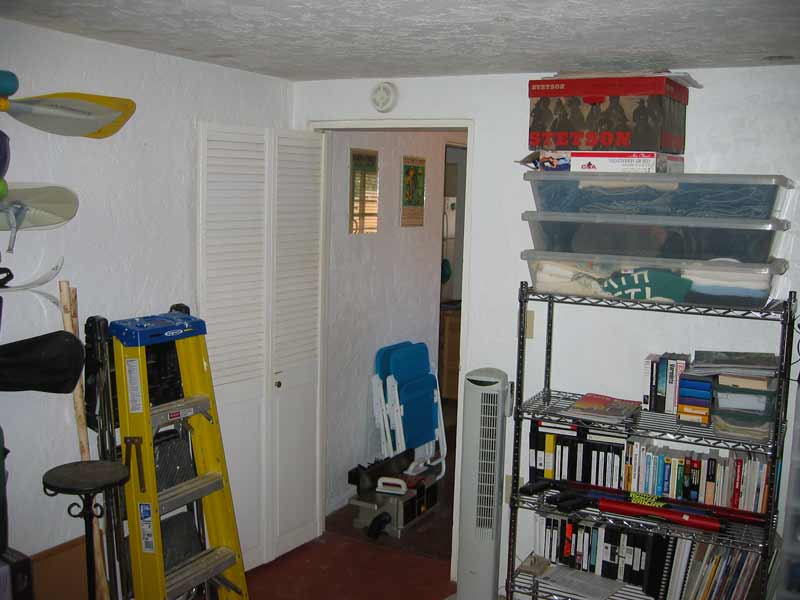 This view looks from the storage room to the west before remodeling began. |
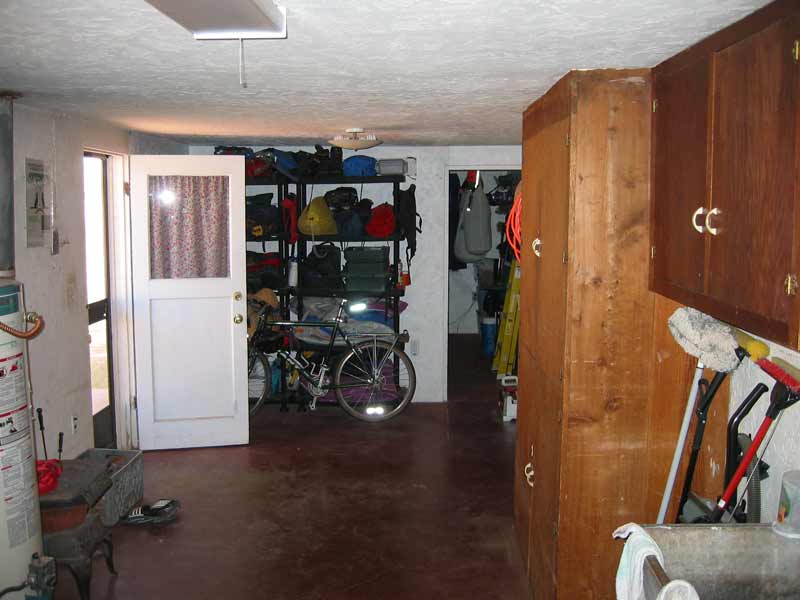 This view is from the west end looking to the east and the smaller storage room. |
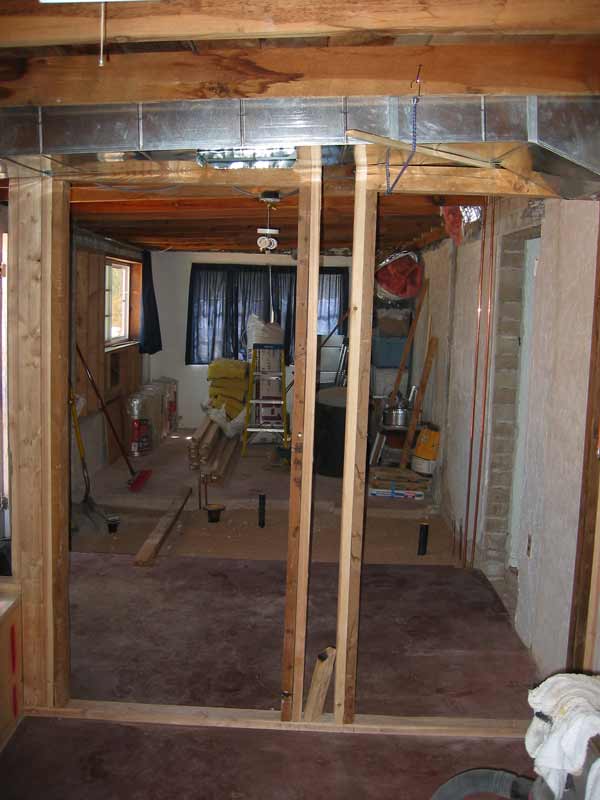
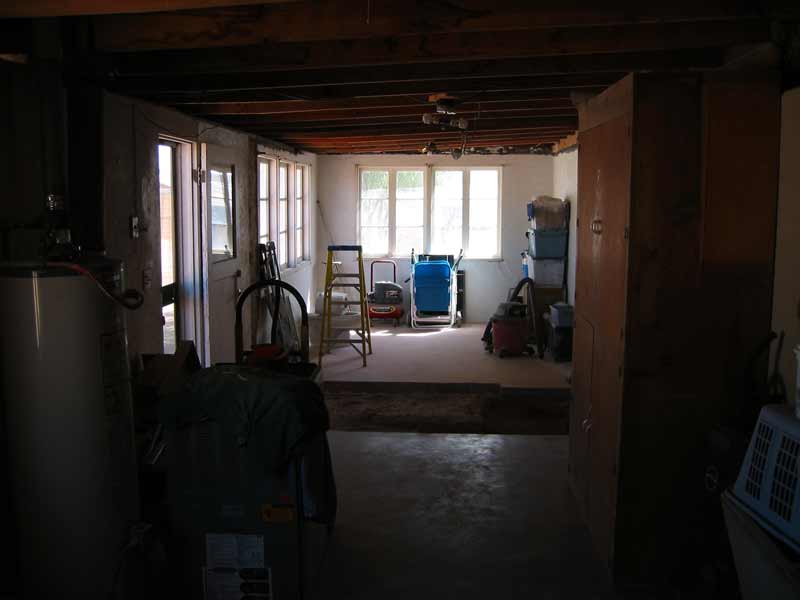 Remodeling has begun. The ceiling and the wall have been removed and I've cut out a section of the floor to get to the sewer line to plumb the new bathroom. |
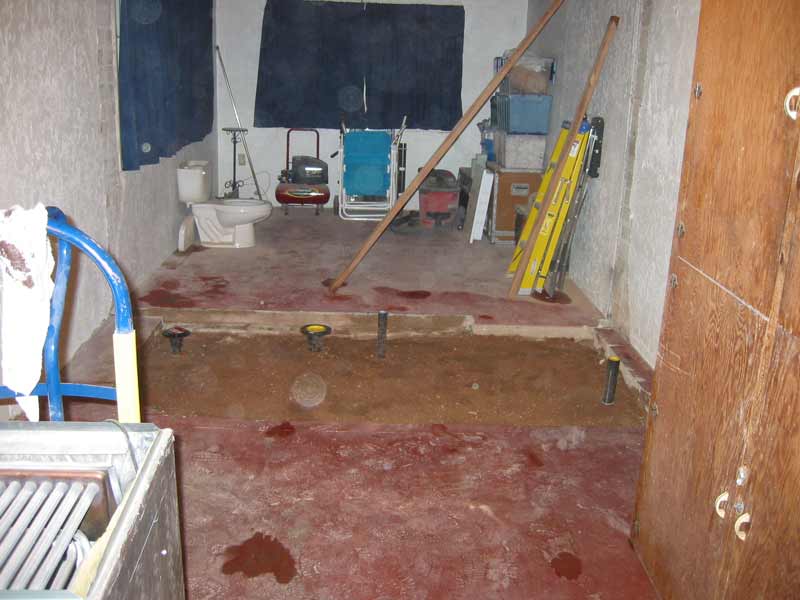 The new waste lines for the shower, toilet, and vanity have been installed. The waterline have yet to be added. |
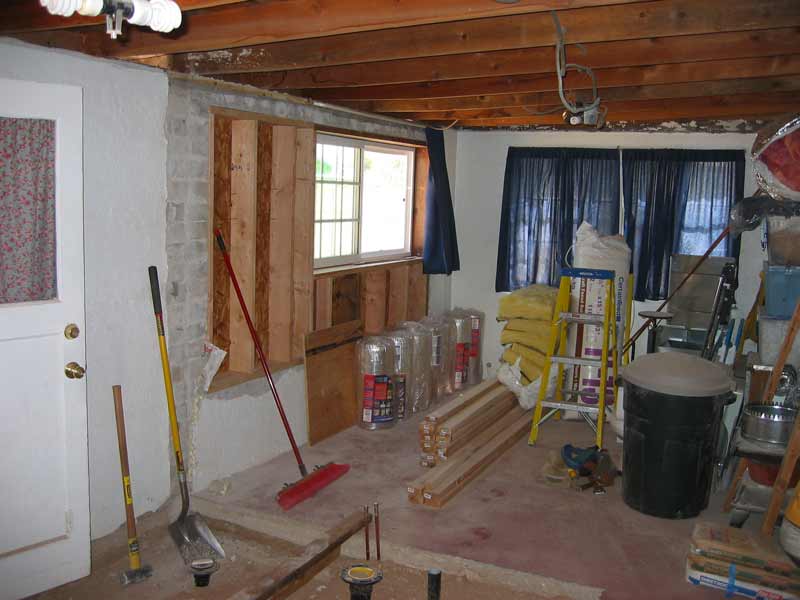 The north window in the new bedroom has been added. There were originally three hinged windows. The new window is smaller to allow room for a closet. |
 The furnace and most of the ductwork has been installed and I've begun to frame the furnace closet and pantry. |
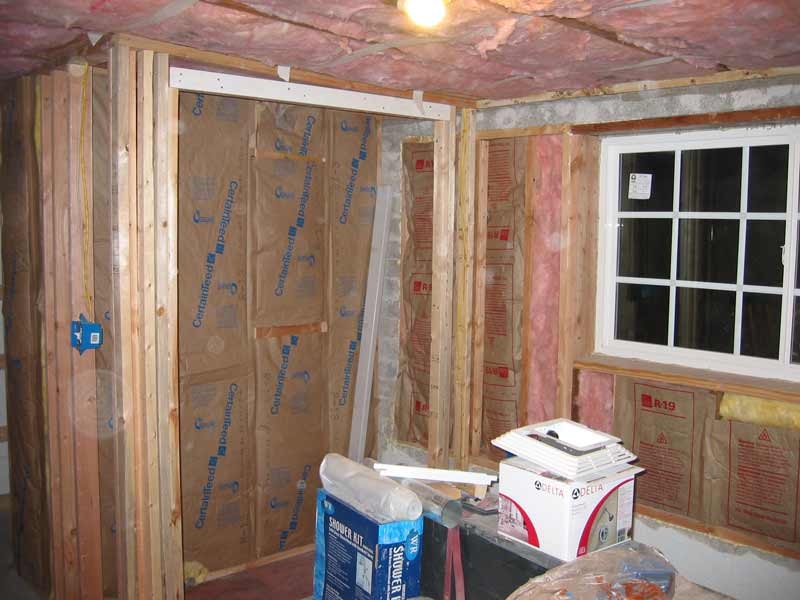 The new bathroom and closet have been framed and insulated. As I've gone through the house I've redone as much of the wiring as possible. |
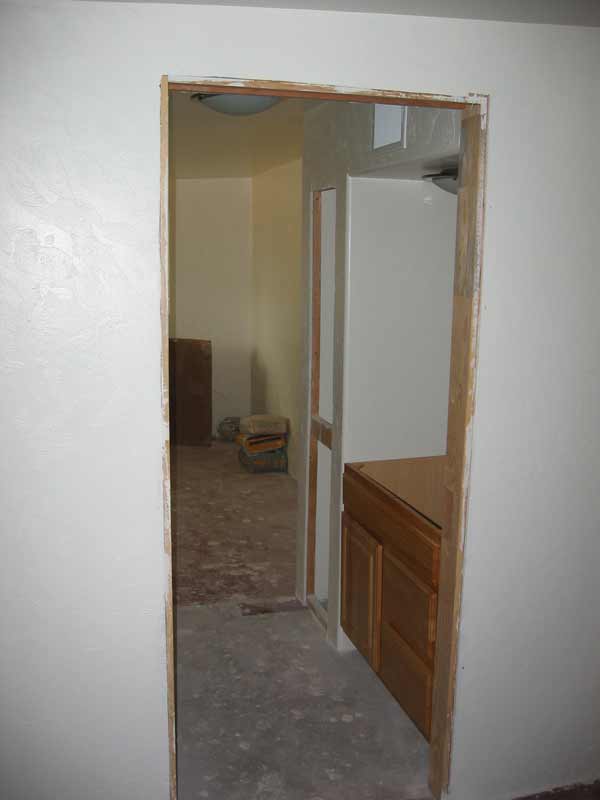
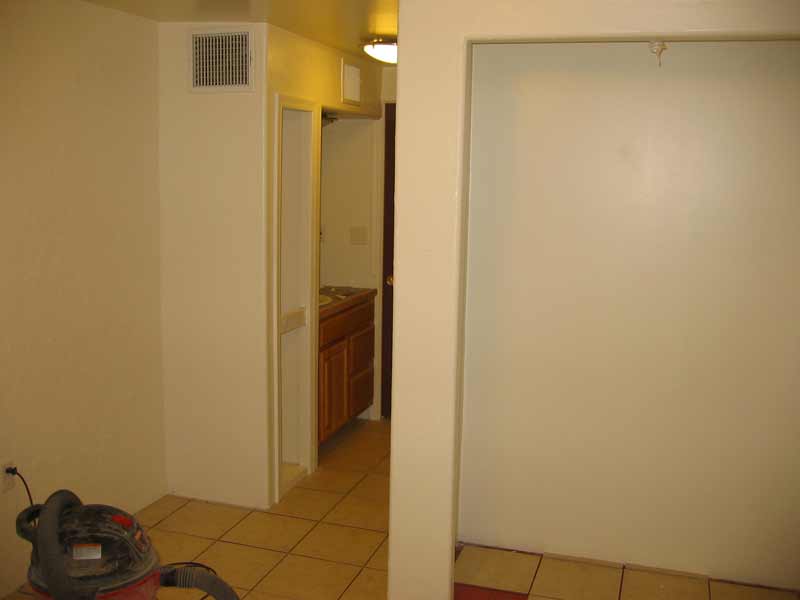
 The drywall has been hung in the new rooms. This is looking from the new hall toward the vanity and linen closet. |
 This view looks from the bedroom toward the new bathroom. You can see the new closet and the linen closet. |
 The drywall is finished, textured and painted and the vanity has been installed. |
 This is the new shower after the drywall is finished but before tile has been installed. |
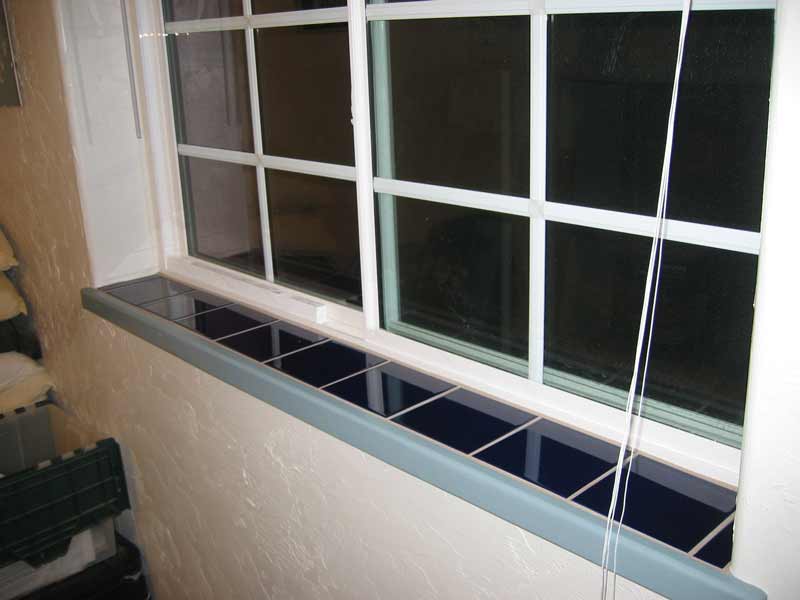
 A detail of the new bedroom windows. The windows sill still need to be tiled. |
 This view looks from the bedroom out through the bathroom into the new hallway. I've begun to tile the floor. |
 Tile has been mostly installed in the shower. |
 Most of the floor tile has now been installed. |
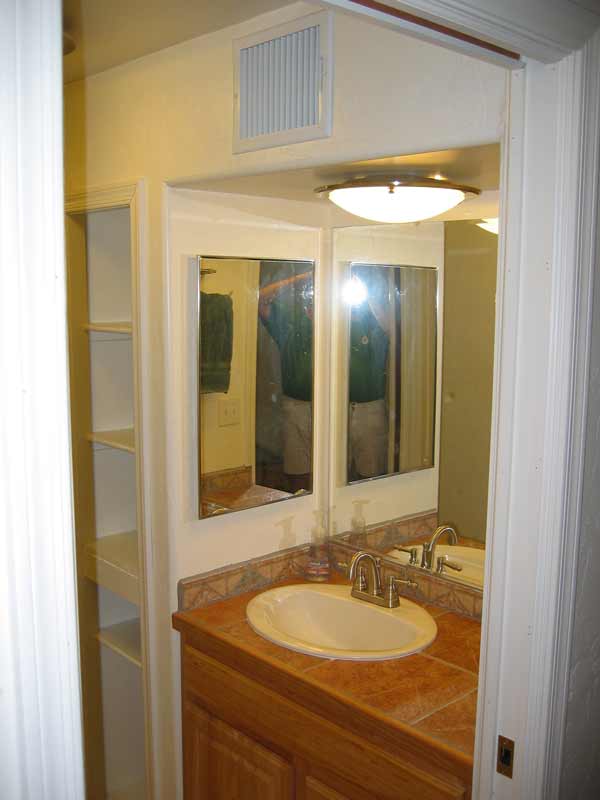 A view of the finished vanity and linen closet. (Except that at some point I need to make doors for the linen closet.) |
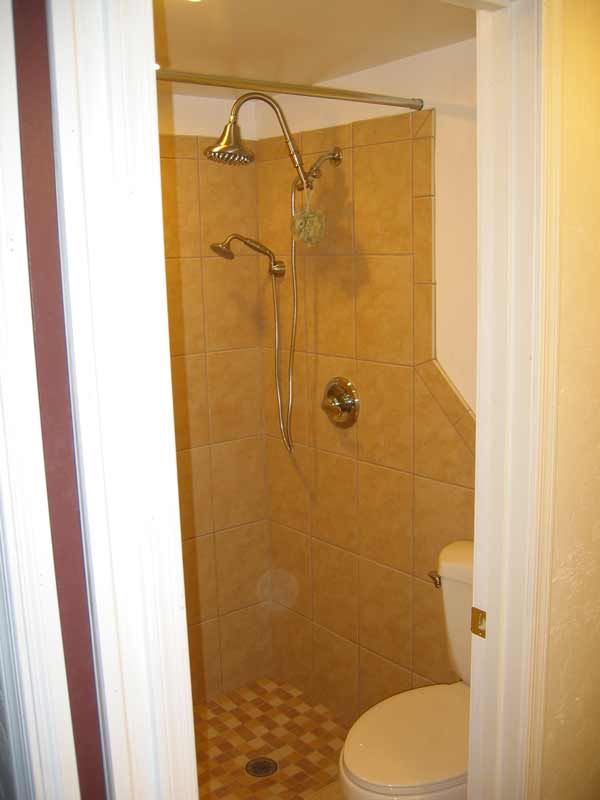 The complete shower and toilet room. |
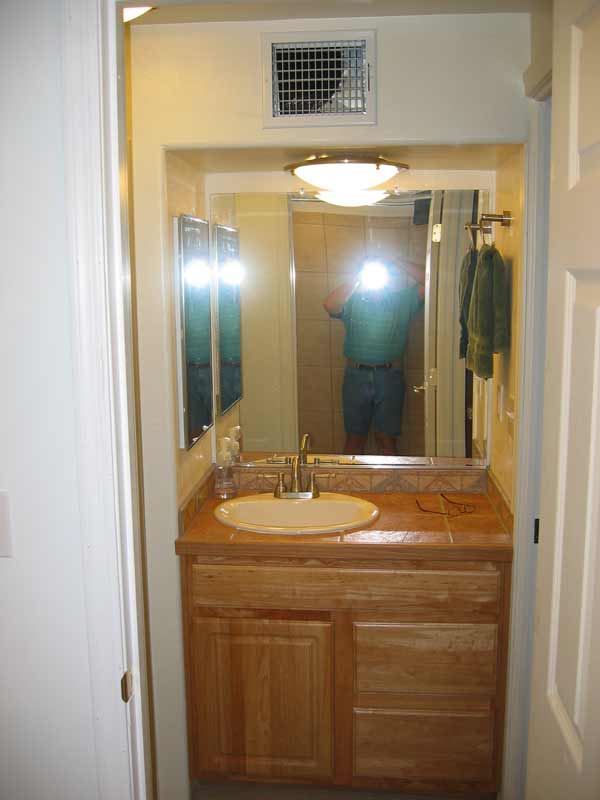 A view of the vanity taken standing in the shower. |
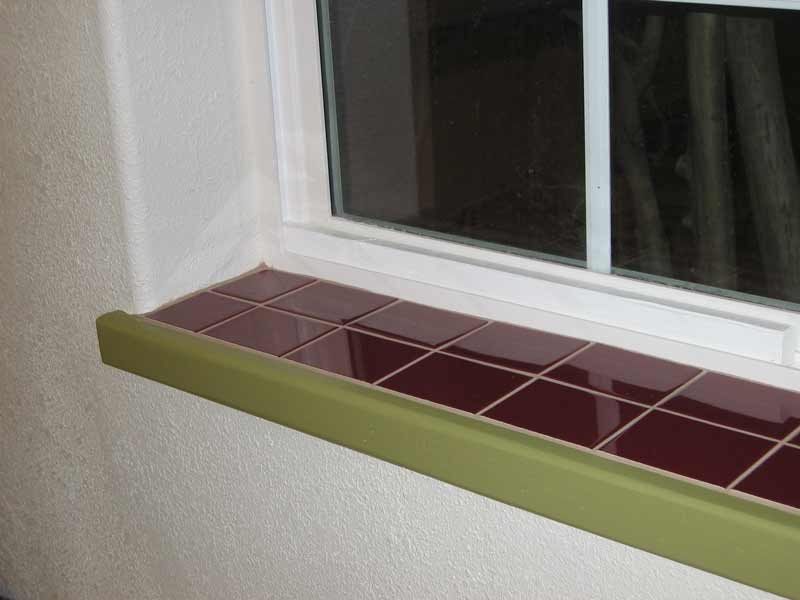
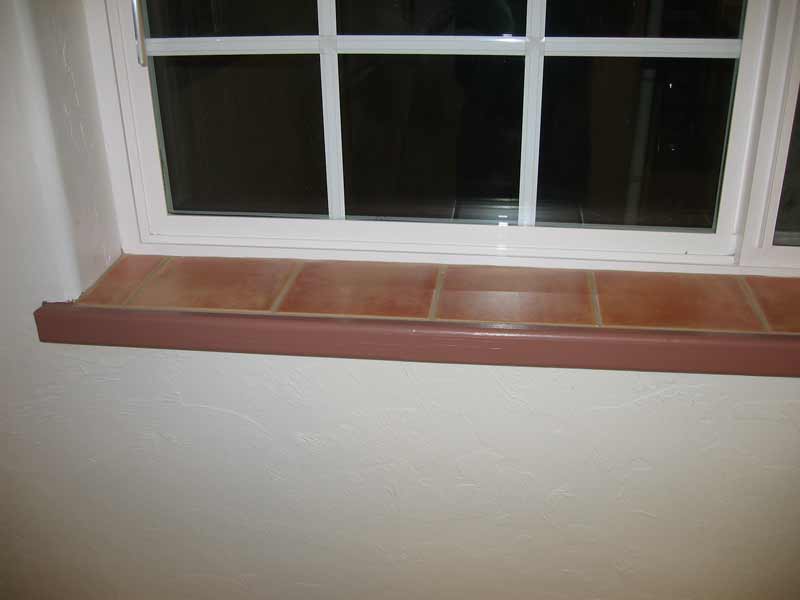 A detail of a completed bedroom window sill. |
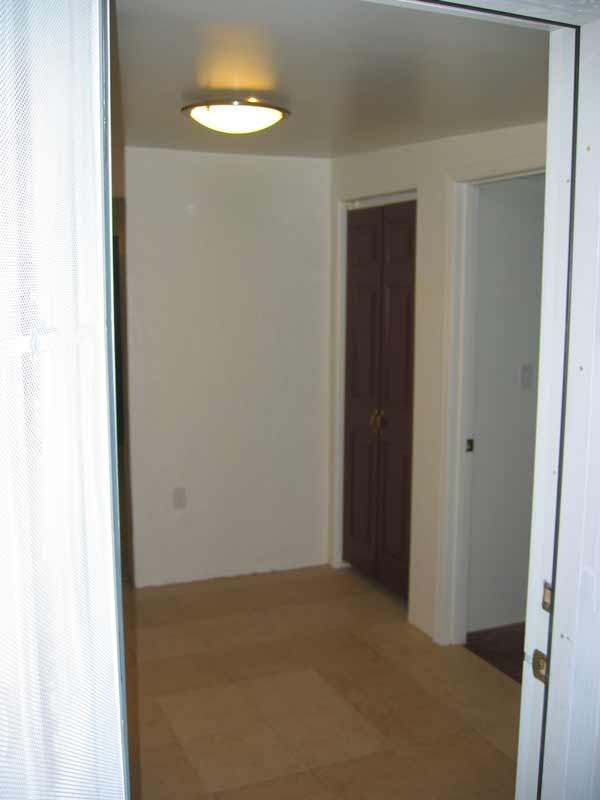
 I've moved into the new master bedroom. This is a view from the east wall looking west. |
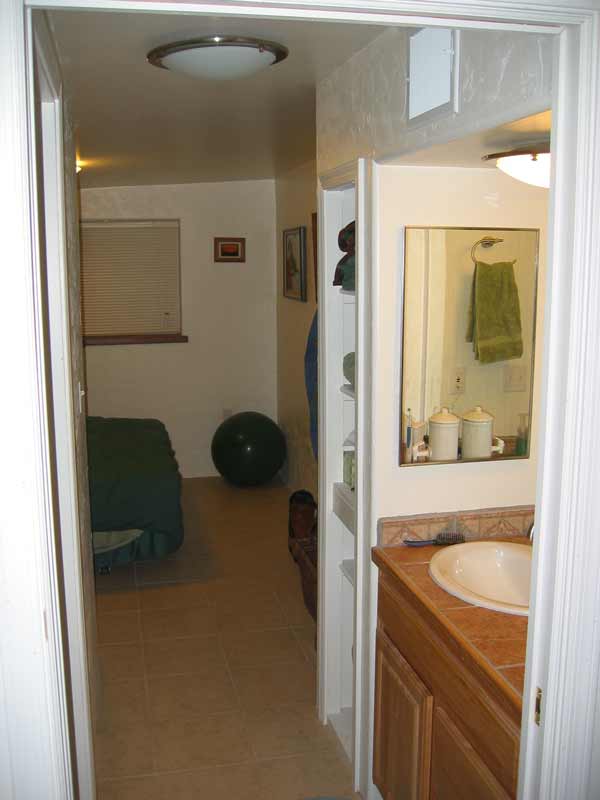 A view from the hallway looking into the master bedroom suite . |
 This view is from the back door looking at the pantry closet. |
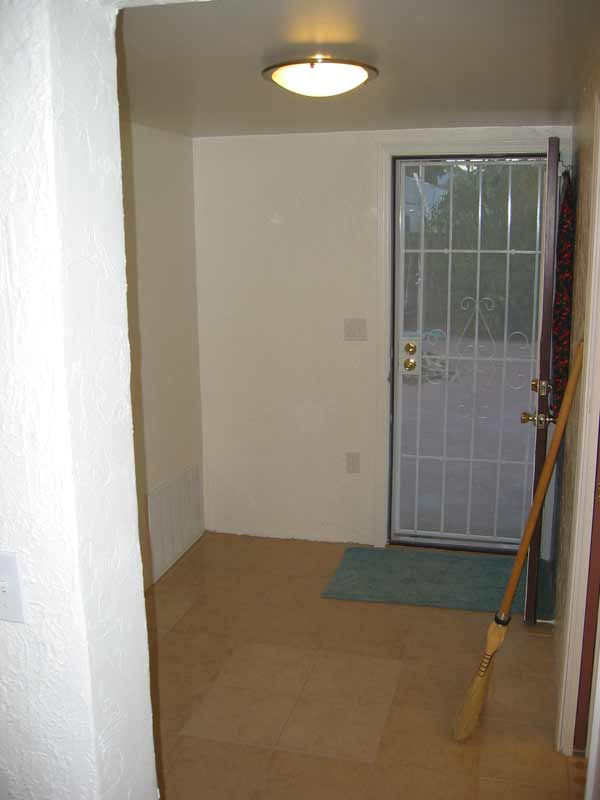 This view looks from the dining room toward the back door. The master bedroom is to the right and the utility room to the left. |
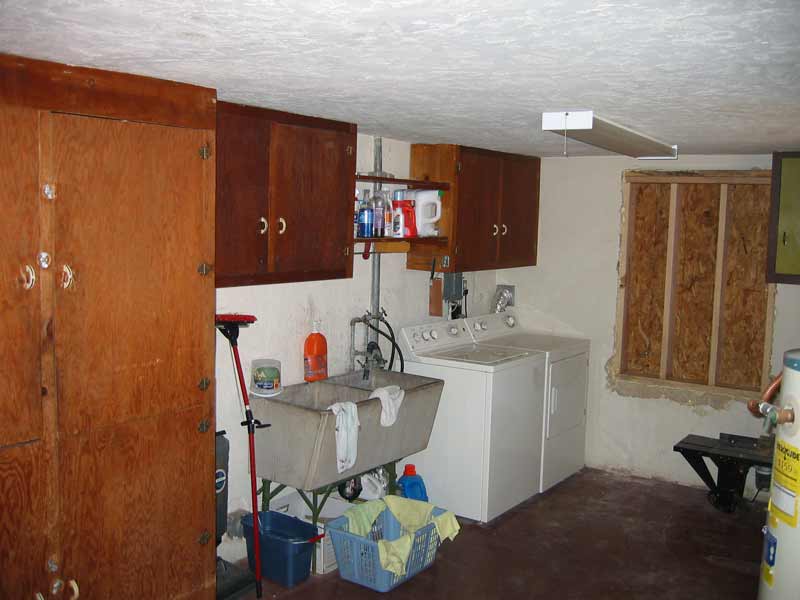
Utility room
 A view toward the new utility room from what will be the new master bedroom. The west window had been removed. |
 Another view before the utility room was walled off. |
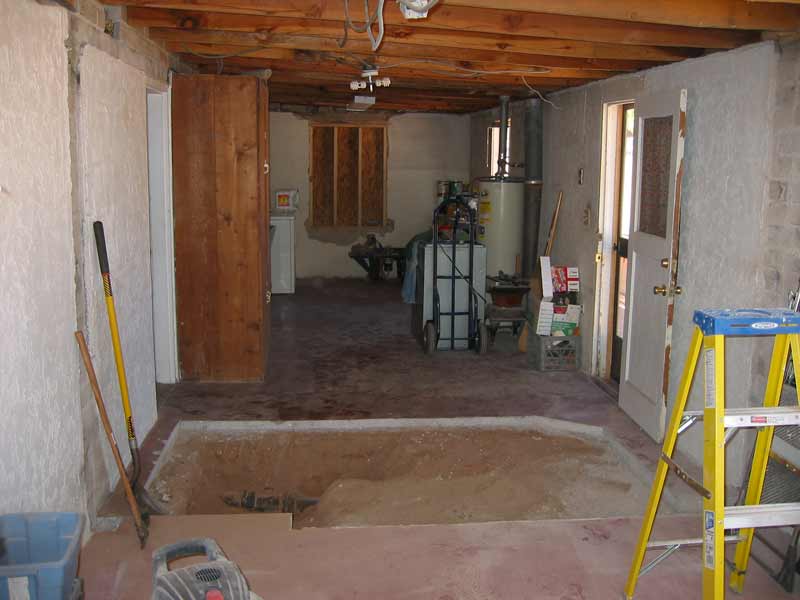 This view is from the east looking across where the new bathroom will be toward the new utility room. |
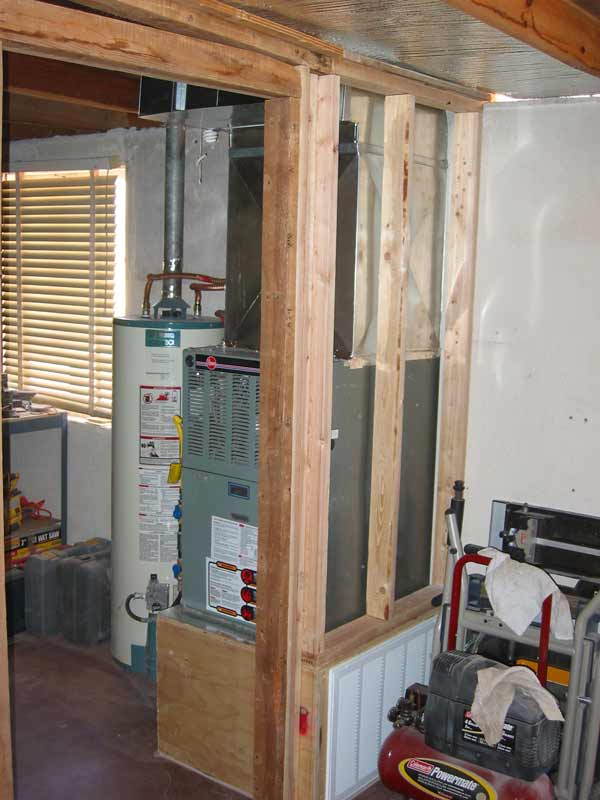 The dividing wall and furnace closet has been added. The house was originally heated by a gas wall furnace in the living room. I've added a new high efficiency gas furnace and ductwork into every room for both the furnace and the swamp cooler on the roof. |
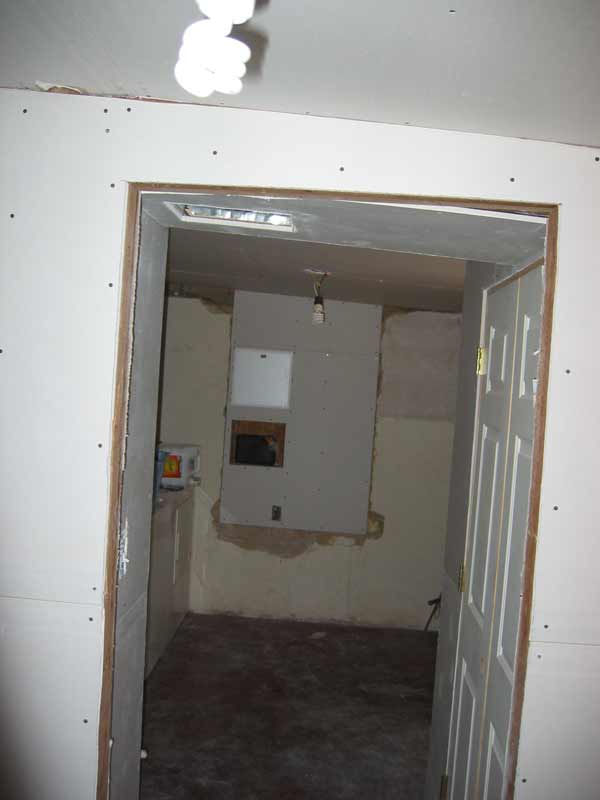 Drywall has been hung in the utility room. |
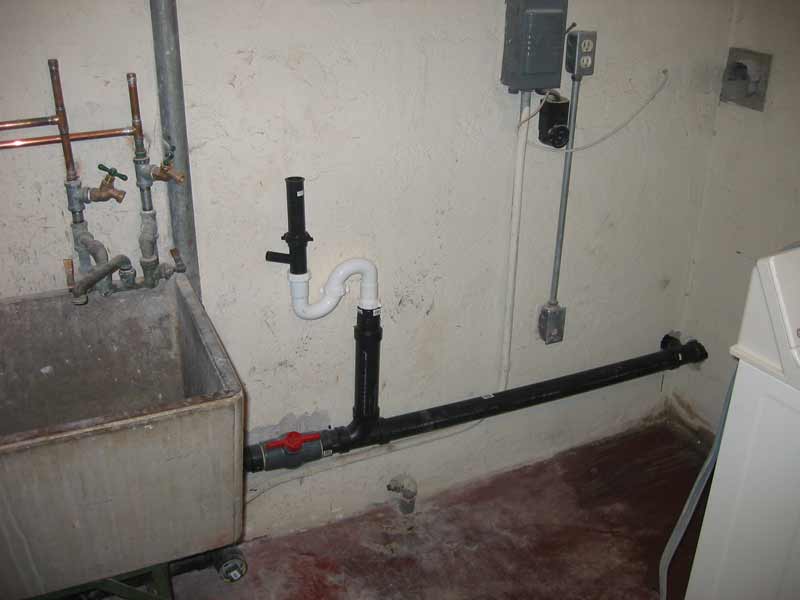 I've added the option of draining gray water from the washing machine and the kitchen to the outside for irrigation by closing the valve shown and opening the cleanout on the outside of the house. |
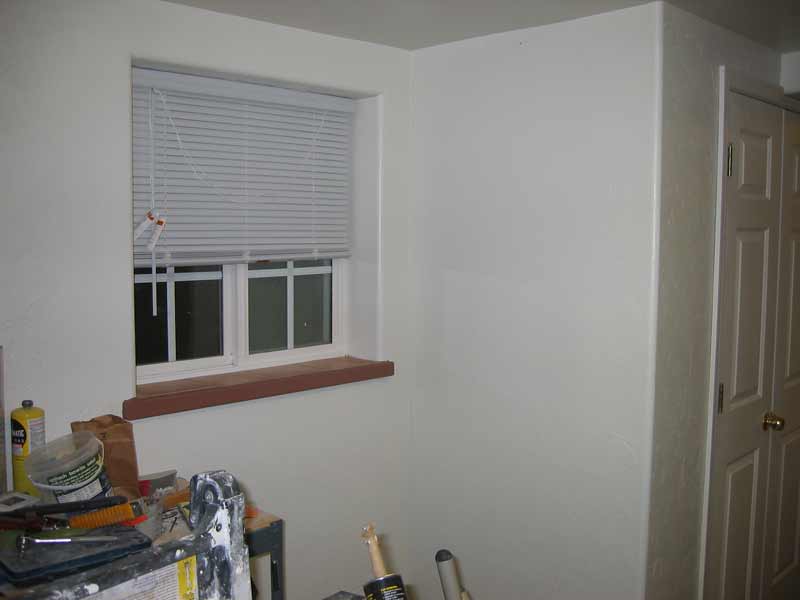 The completed utility room looking from the washer and dryer toward the furnace closet and north window. |
Structured media
As most of the house was opened up during the remodel I took the opportunity to install new data, telephone and video cabling in nearly every room. All cabling terminates in the structure media box shown below where it is connected to cable, internet, and telephone providers. I've installed the cable modem and a router in the niche below the structured media box which networks the entire house.
 Data,telephone, and video cable from all rooms terminates in the structured media box. |
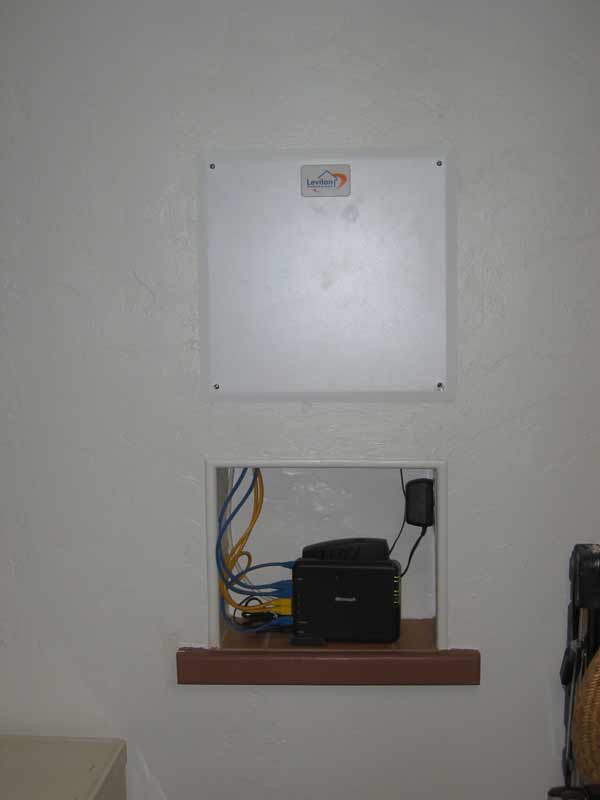 The structured media hook up is complete. The cable modem and router are in the niche below the box. |
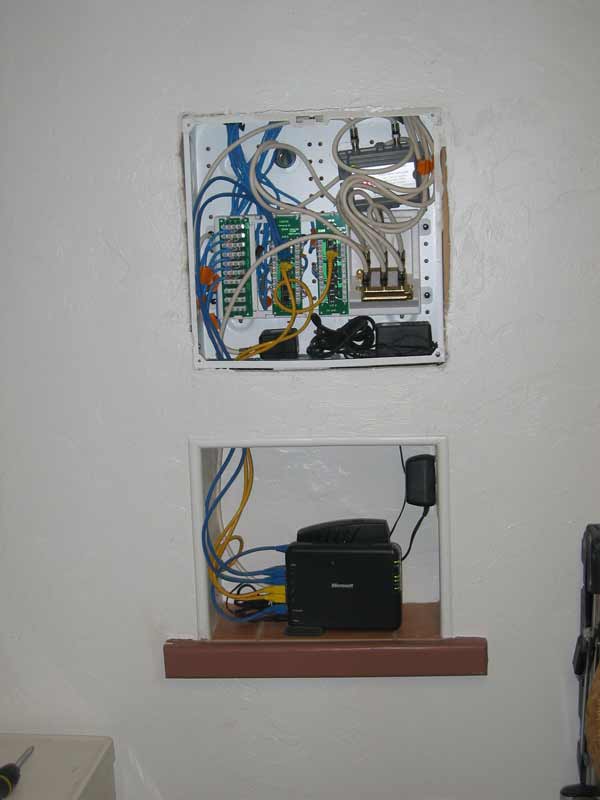 A view of the completed media box showing the cabling. |
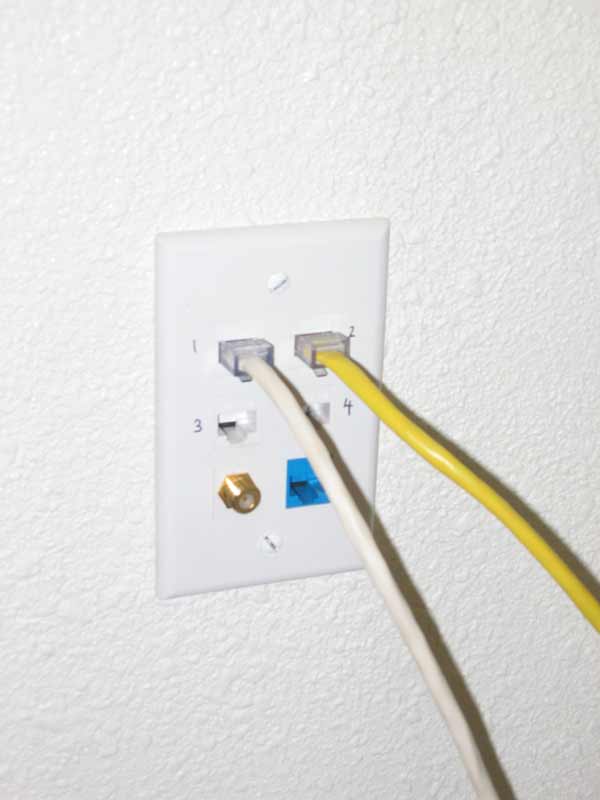 This is the completed outlet box in the office. I've installed 4 data ports, a telephone port and video port. |
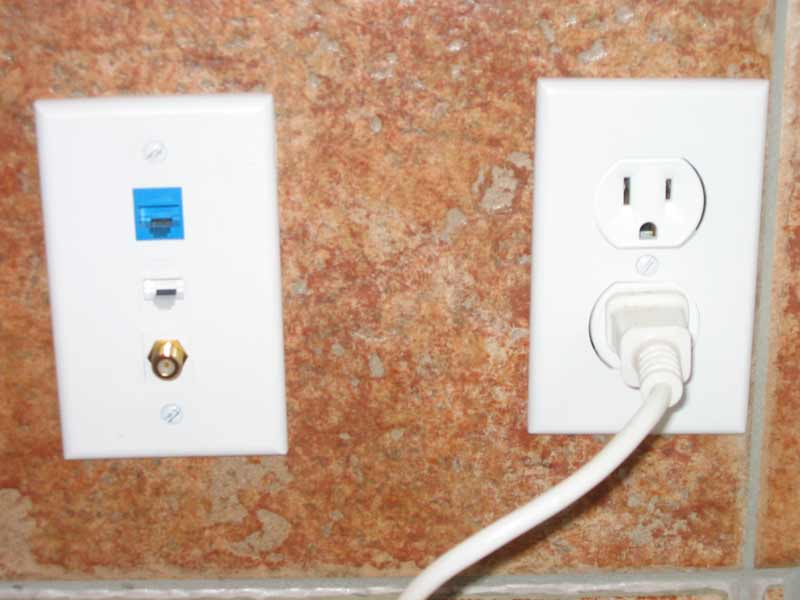 This is the kitchen outlet with a telephone, data, and video port. When the kitchen was remodeled all wiring was brought up to code. |
Living Room
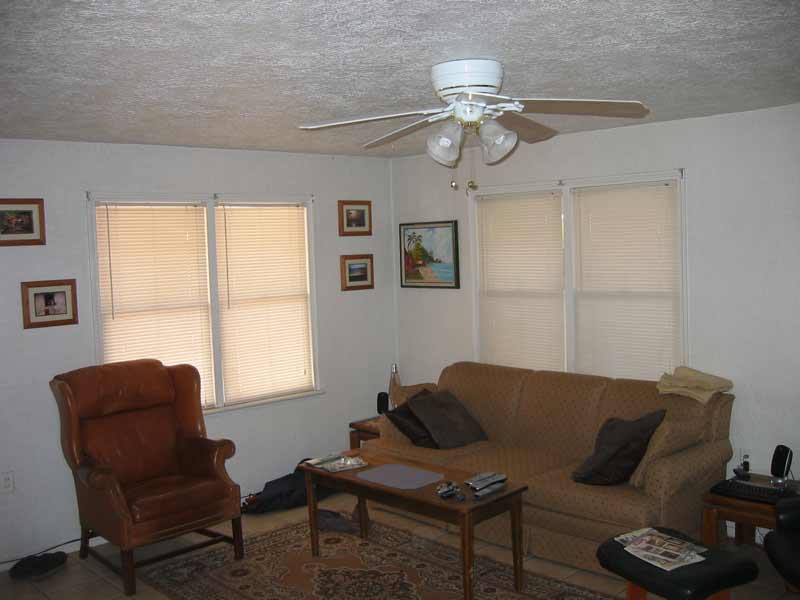 The living room before the remodel began. |
 Another view of the living room pre remodel. |
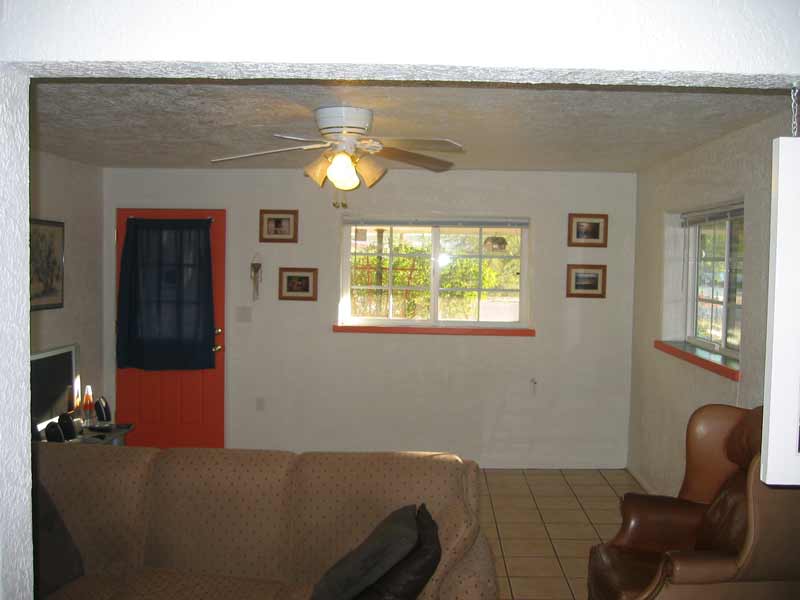 The living room after completion. Note that all the ceilings in the house were replaced except the living room and the two original bedrooms. |
 The living room with furniture back in place. Note that the curtain on the exterior door is temporary! |
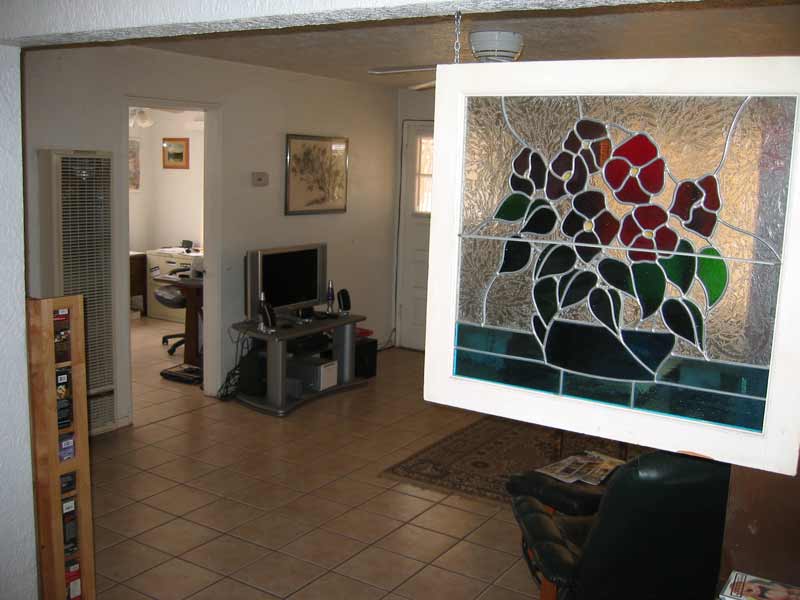
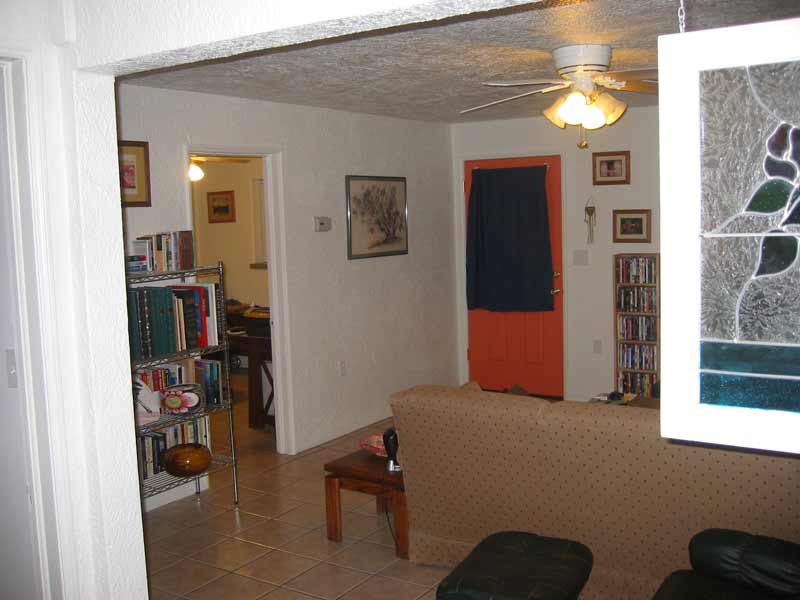 A view of the completed living room from the dining room. |
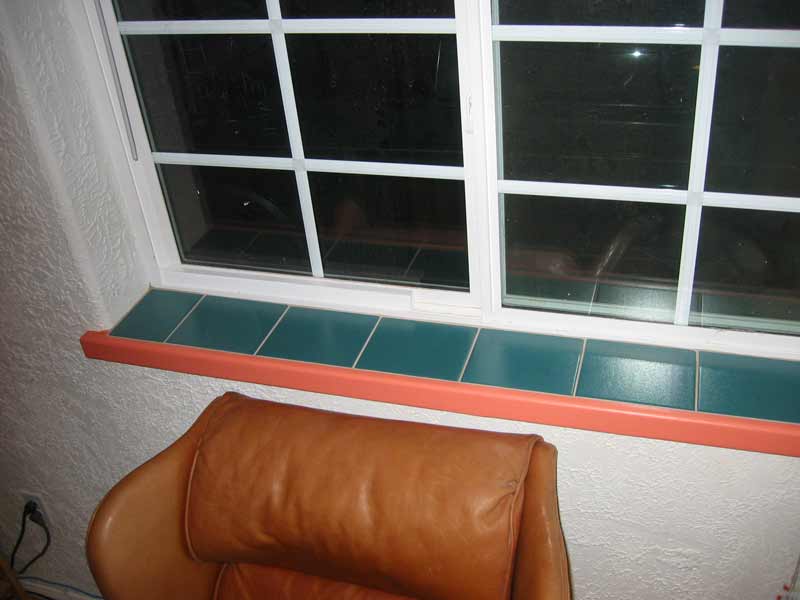 A detail of one of the living room window sills. |
Bathroom
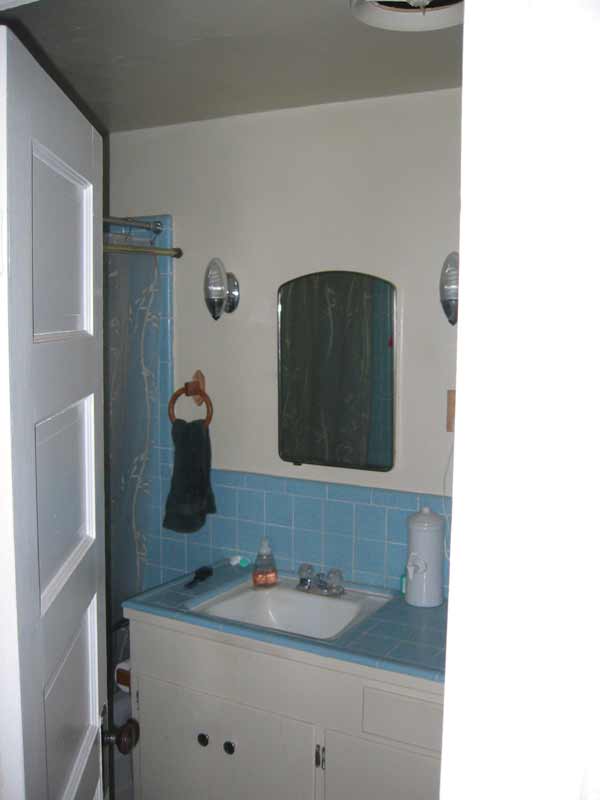 The bathroom before the remodel began. |
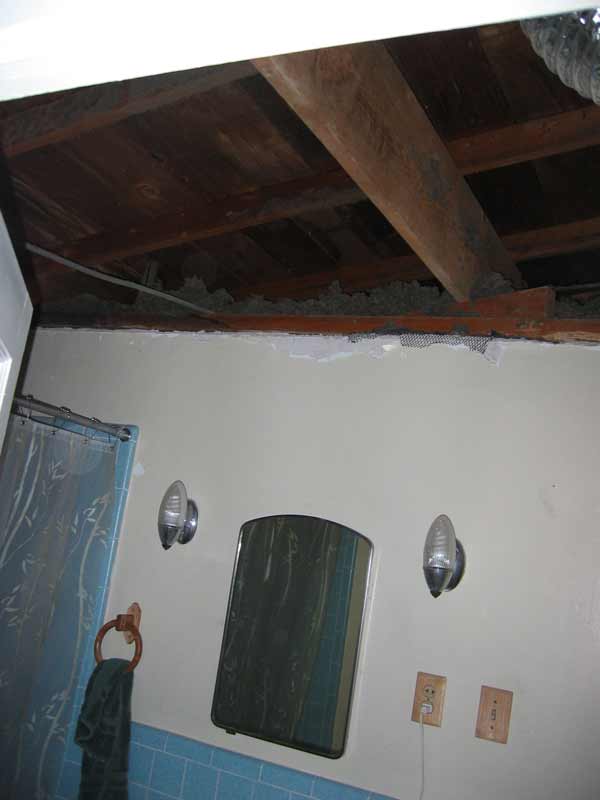 The bathroom sans ceiling. |
 A view from the bathroom into the attic showing some of the radiant barrier insulation again the rafters. |
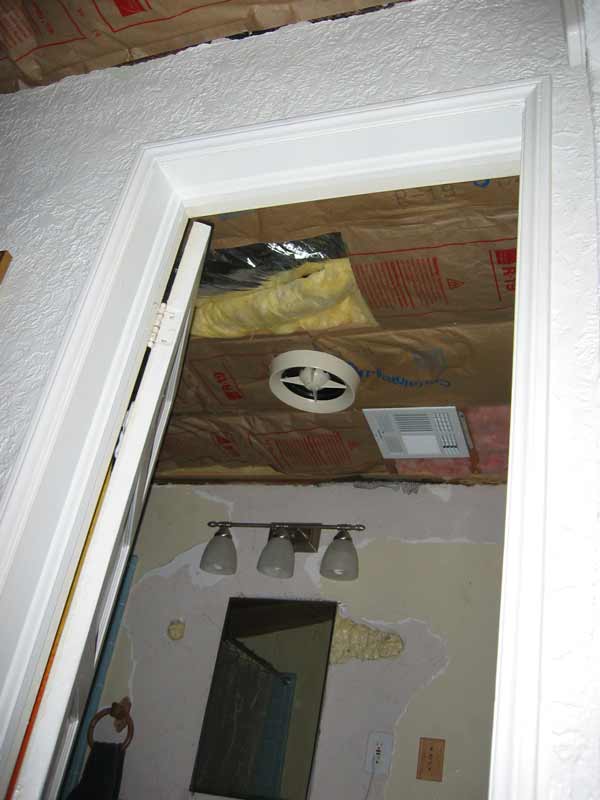 The bathroom ductwork and ceiling insulation are complete as is the rewiring. |
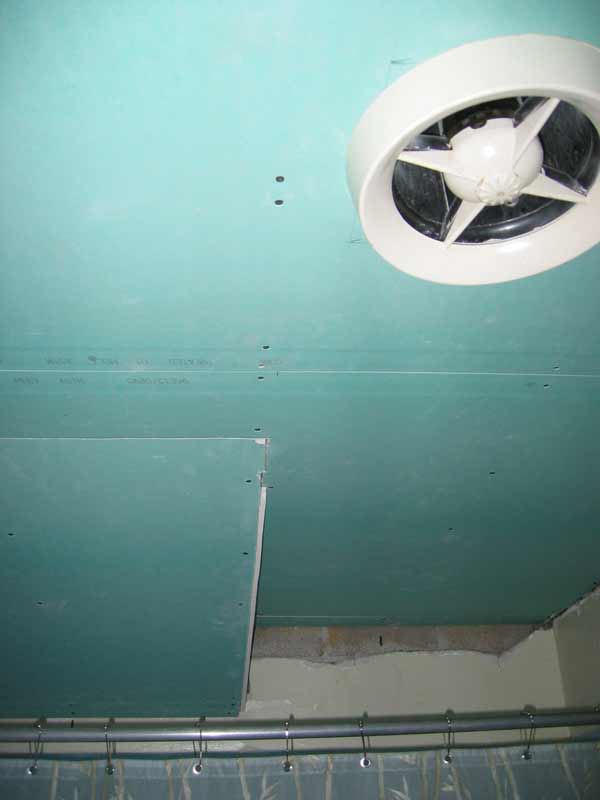 The bathroom sheet rock is green board for high moisture areas. The soffit added in the left of the photo was to allow heating and cooling ductwork to reach the master bedroom on the other side of the wall. |
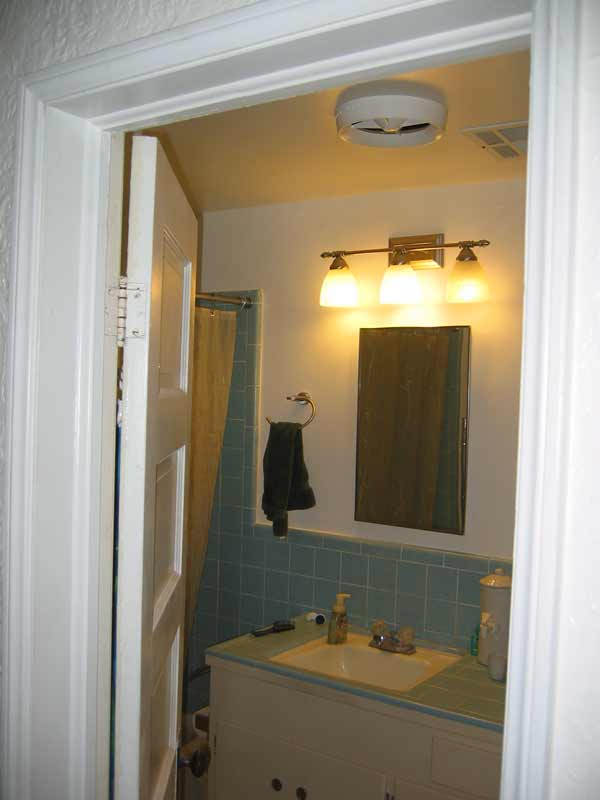 The bathroom is almost complete. |
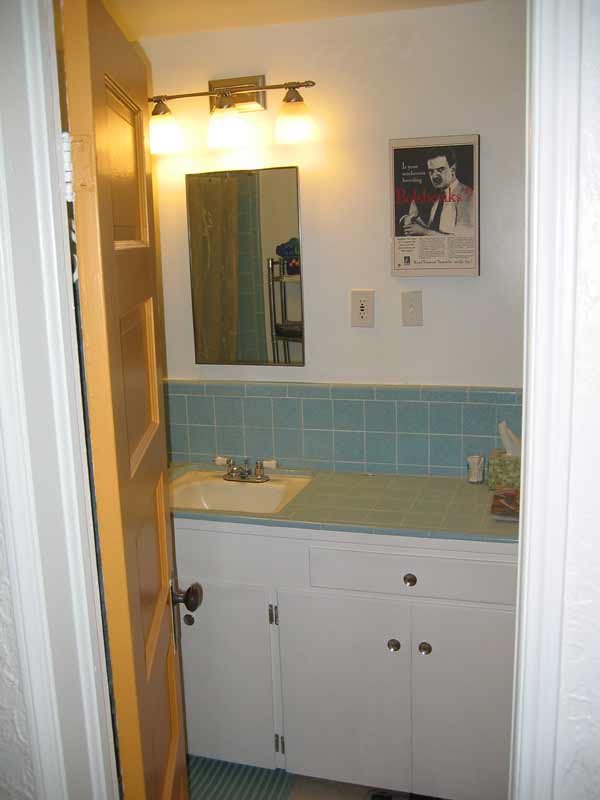 And the final with the door and vanity painted. |
Dining Room
 The dining room before the remodel began. |
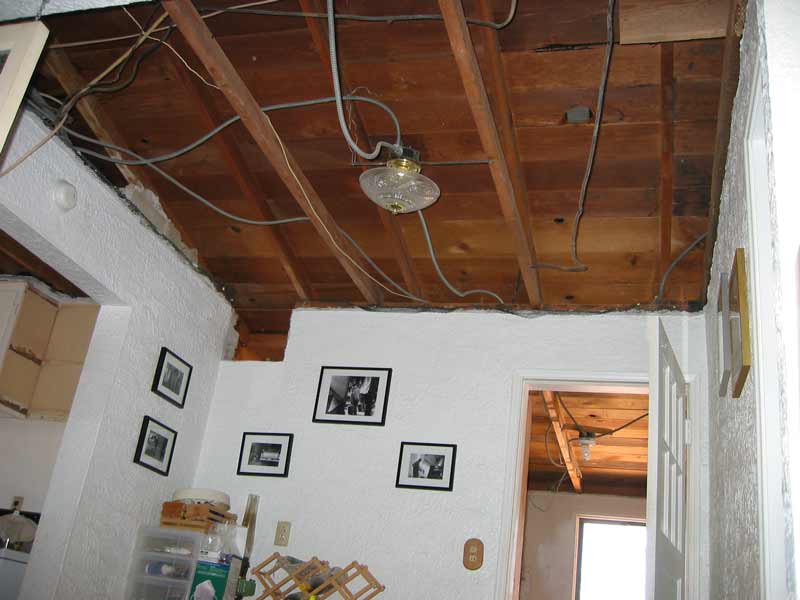 The dining room sans ceiling. |
 A view from the dining room into the attic showing some of the radiant barrier insulation again the rafters and ductwork. |
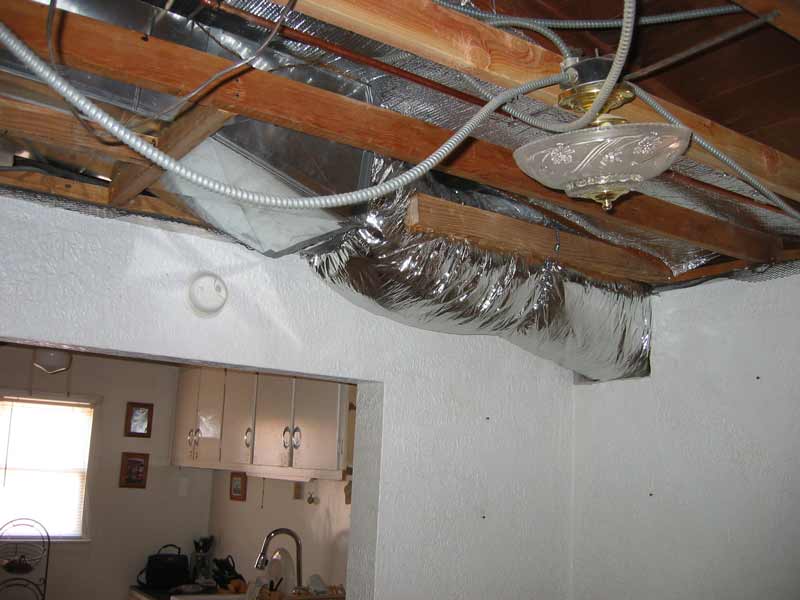 I added a soffit in the dining room to allow for running ductwork from the furnace in the utility room to the main heating and cooling plenum. |
 The dining room ceiling has been sheet rocked. |
 The dining room is complete here, but note that the tile in the hall between the utility room and the master bedroom has not been installed. |
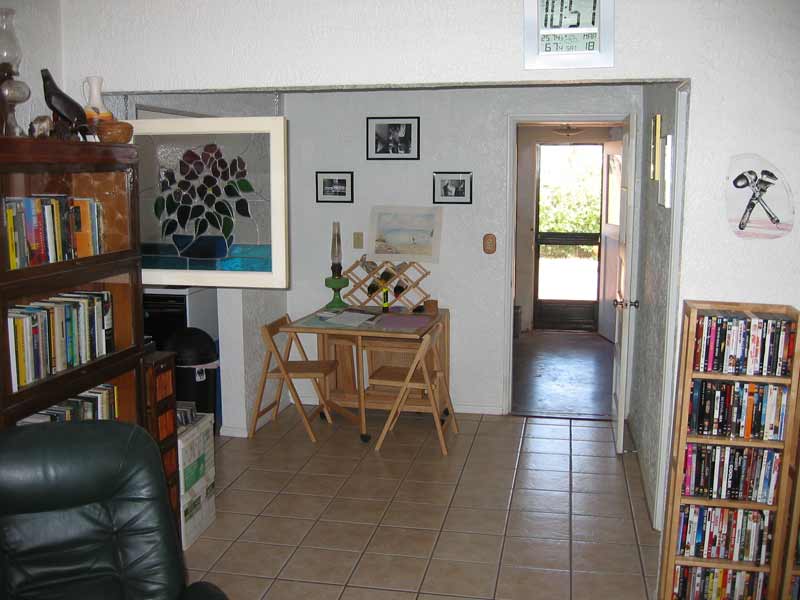
 And the final looking from the living room through the dining room and toward the back door. |
Bedrooms
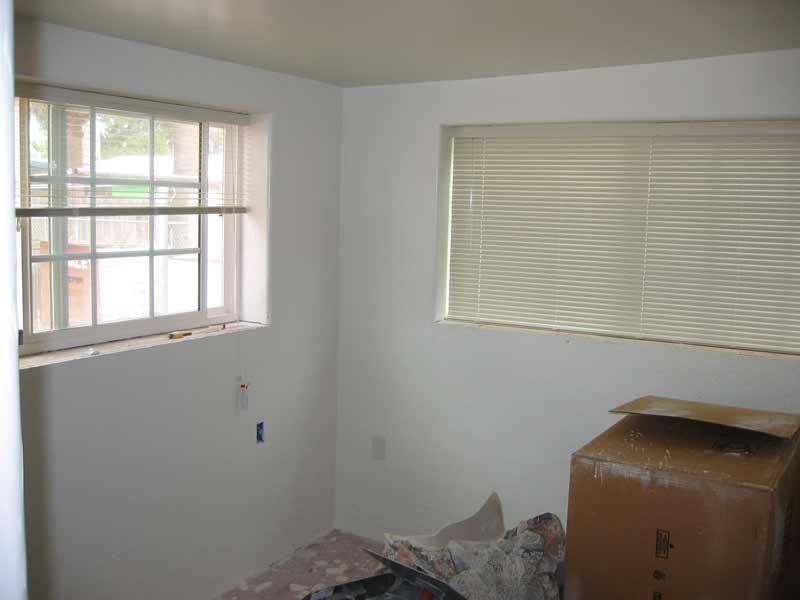
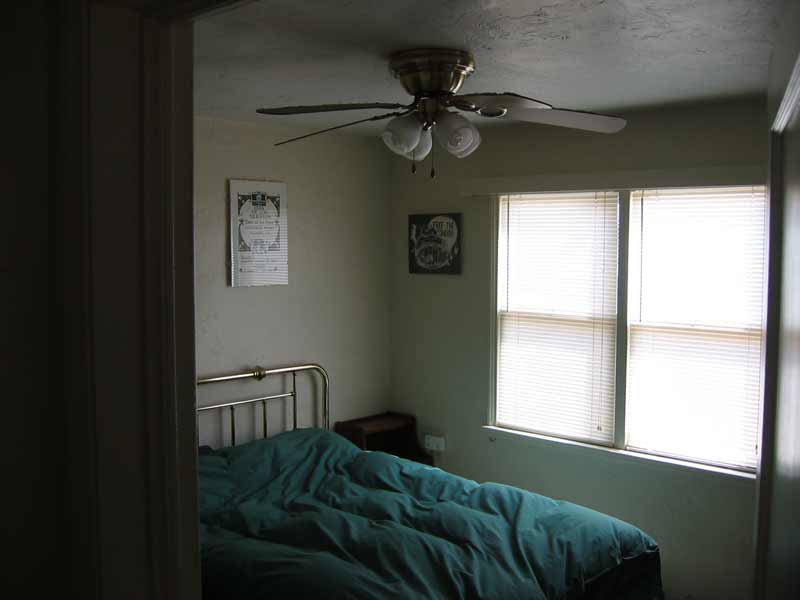 What is now the guest bedroom. |
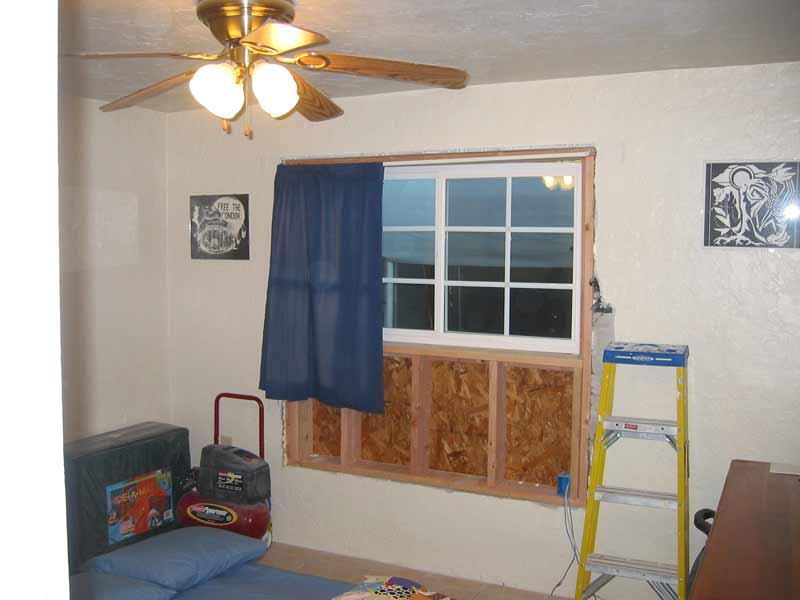 The bedroom after the window has been replaced. |
 A detail of the guest bedroom windowsill. Note that every room (except the utility room) has different tile and trim color for the windowsills. |
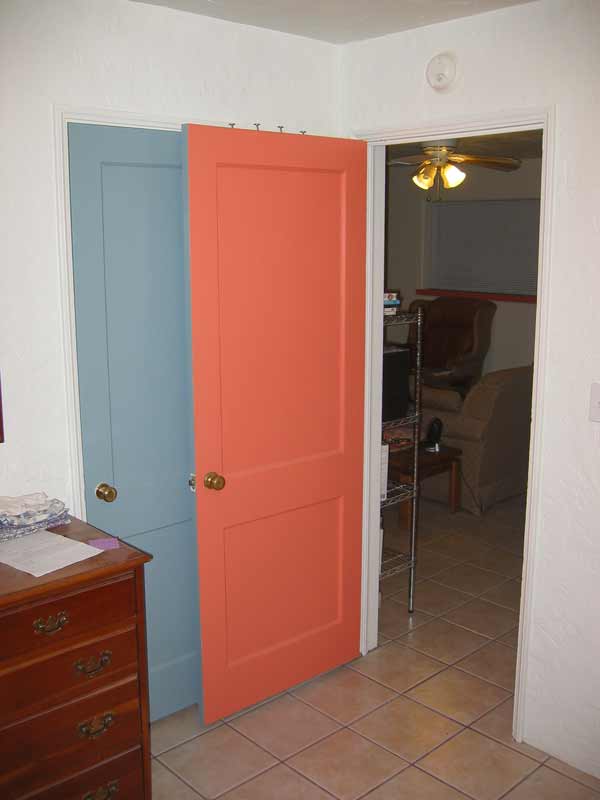 The finished guest bedroom showing the opened door color of the living room (Guava Jam) against the bedroom door color (Cape Cod Blue). |
 Bedroom 3 / office before remodeling. |
 Detail of one of the windowsill in this room. |
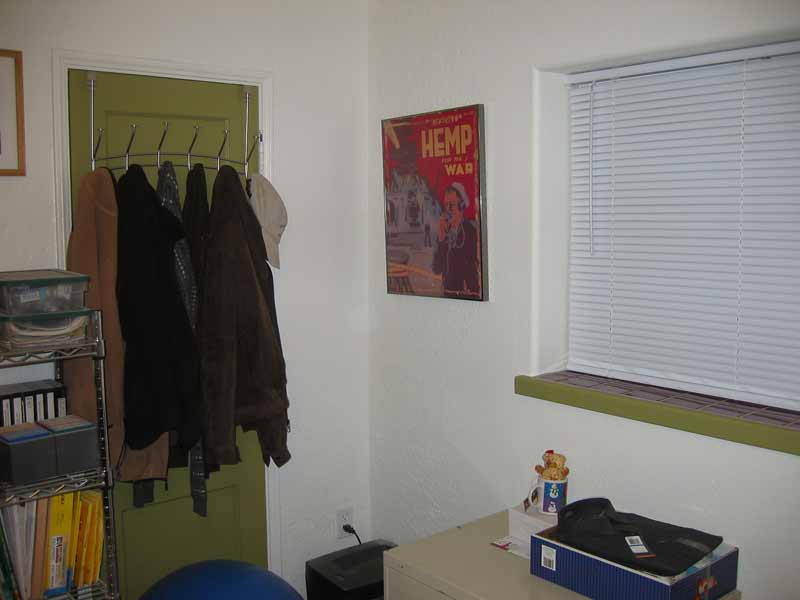 And the final of bedroom 3 / office. |
Final Touches
I'd been wanting to replace the chain-link fences on the east and west property lines since I bought the house. Not only is the chain-link ugly, but it doesn't do much for privacy. In November 2007, I removed the chain-link and built 6' high cedar fences. They look great and won't require much maintenance.
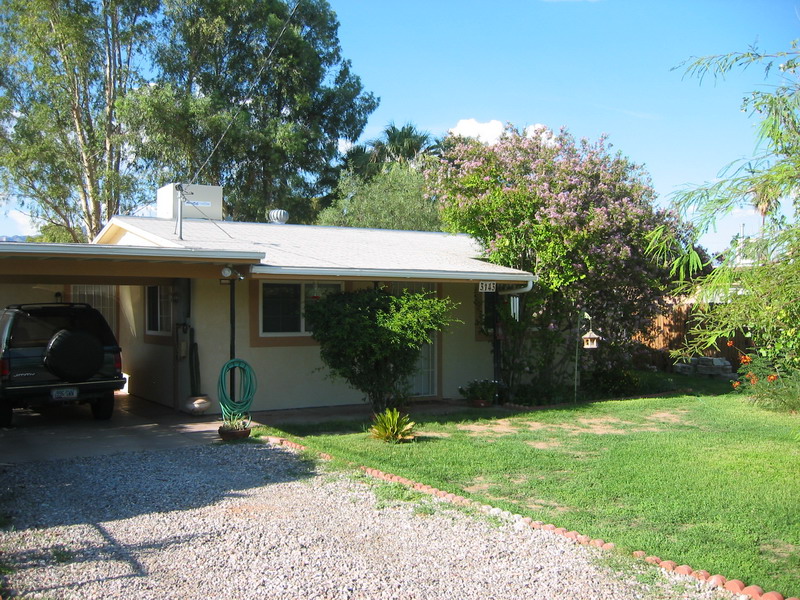 The front of the house during monsoon season. Since I don't like the bermuda grass lawn and it's mighty tough to kill, it's only green during the monsoon! |
 The exterior again from the front. Note the chain-link gate. |
 Now look at the front with 6' cedar gates instead. |
 The fence in the back makes quite a difference! |